The cogs just keep on churning with my La Passacaglia quilt. I get more excited with every one I finish and attach to the main pieces. Sharing with you here are several more completed rosettes, two of which have a very interesting history.
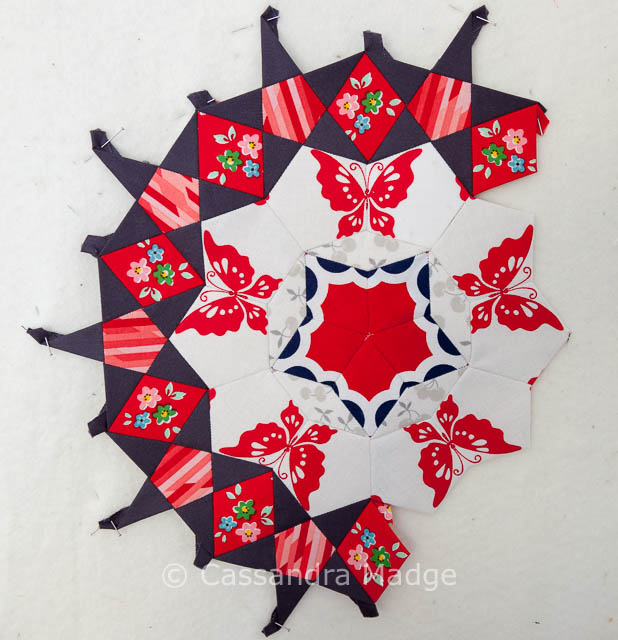
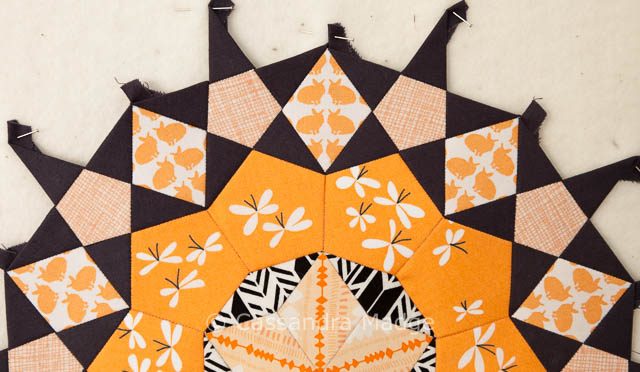
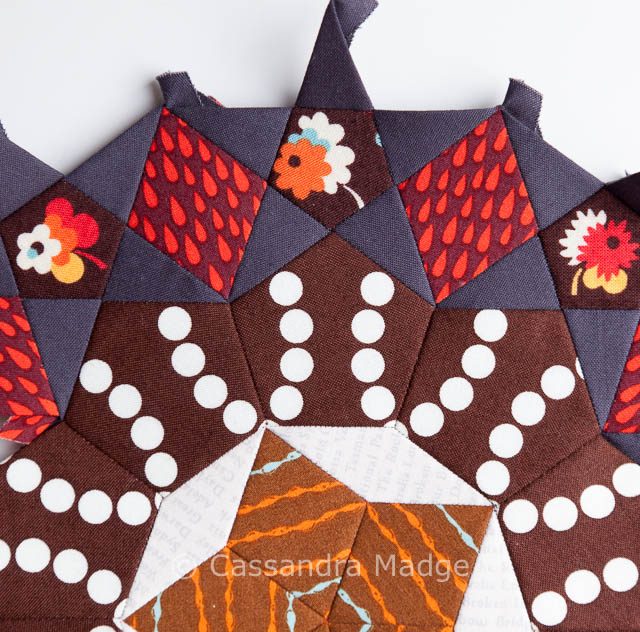
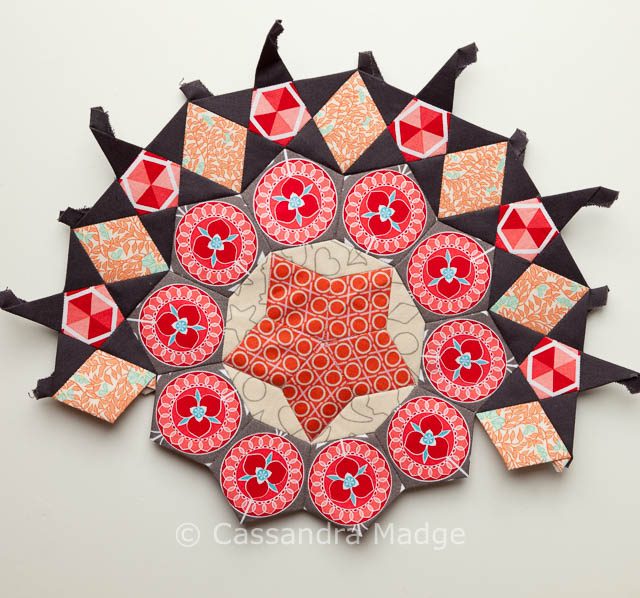
This red butterfly cog was one of the most testing ones I have made in terms of fussy-cutting the half butterflies and then lining them up on the individual pentagons and stitching them back together. Because there was so much white on that ring, I let myself go overboard with the red on the inner star and outer diamonds, to make sure that the colour still showed as obvious. The white also makes a nice resting place as so much of the quilt is charcoal stars and saturated colours.
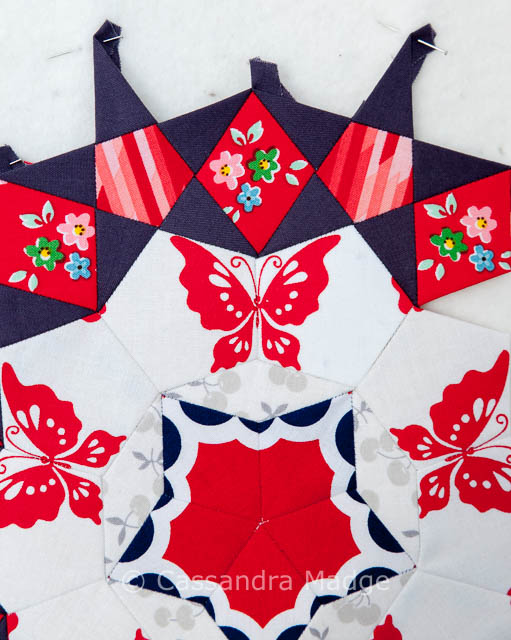
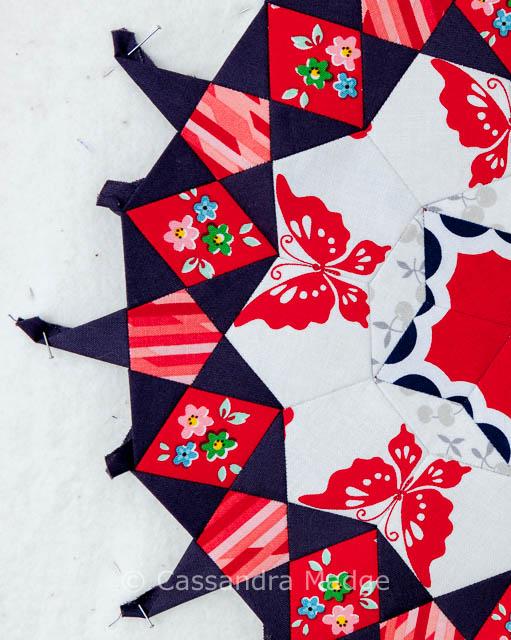
You can see in the closeups above that the seams through the butterflies weren’t always perfect, but I refused to let that stress me out. When the whole quilt is finished with papers removed and then quilted, I doubt it will be that obvious.
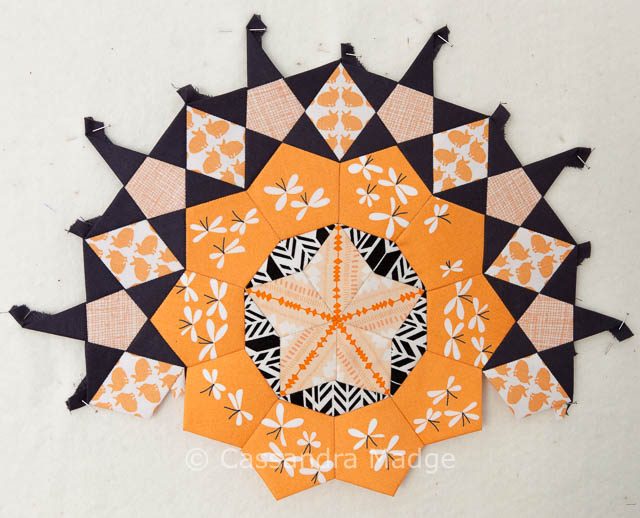
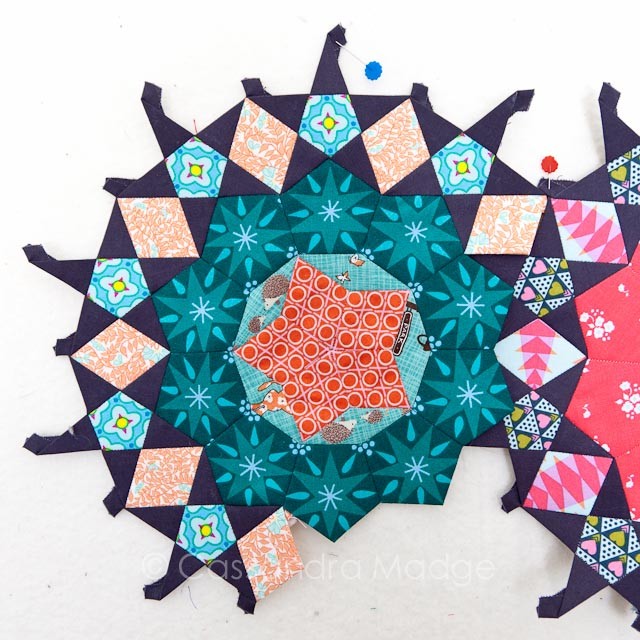
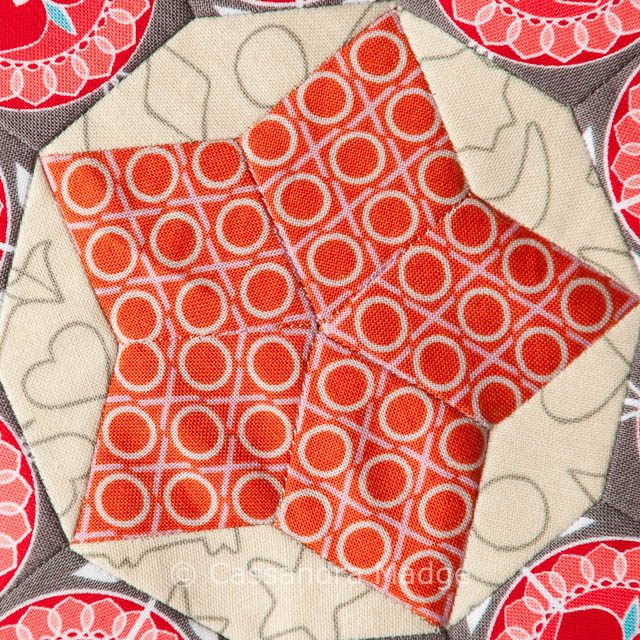
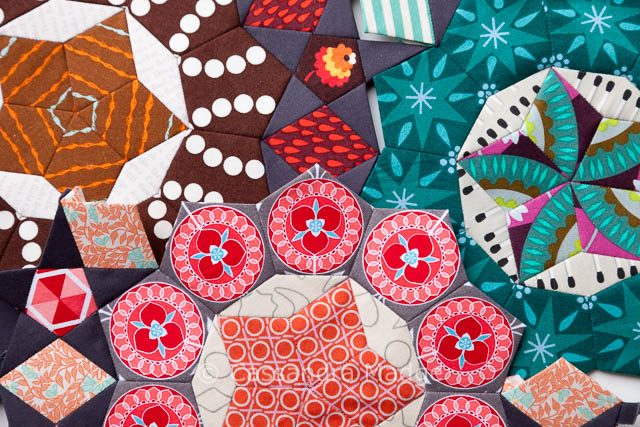
This beautiful peach rosette is one of my favourites. I confess it was another splurge, as I had very little of this shade in my stash. The only peach fabric I didn’t buy in this cog is the crosshatch in the small outer pentagons. All the rest was bought together on a trip to Hetties Patch. It’s so useful shopping for an entire rosette at a time, as you can match the colours better than by relying on memory.
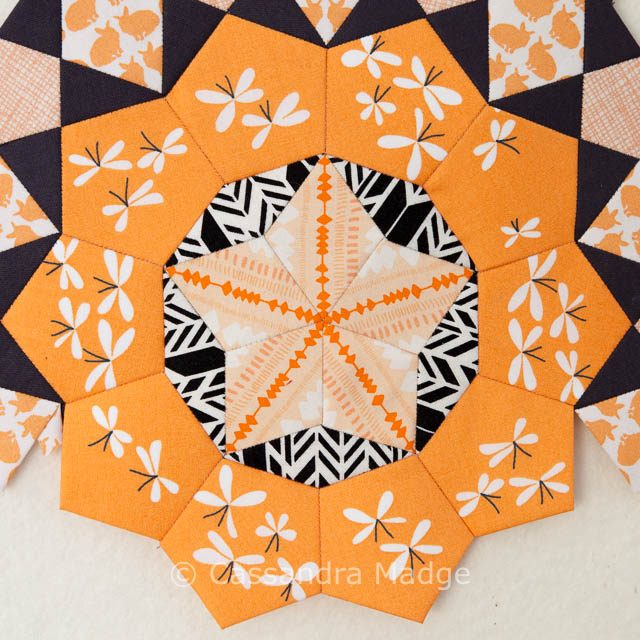

The mix of light and dark stripes on the inner star, and the way I arranged them, gives it a three dimensional effect. But the best part would have to be the butterflies. Such a subtle touch of whimsy without being over the top cartoonish.
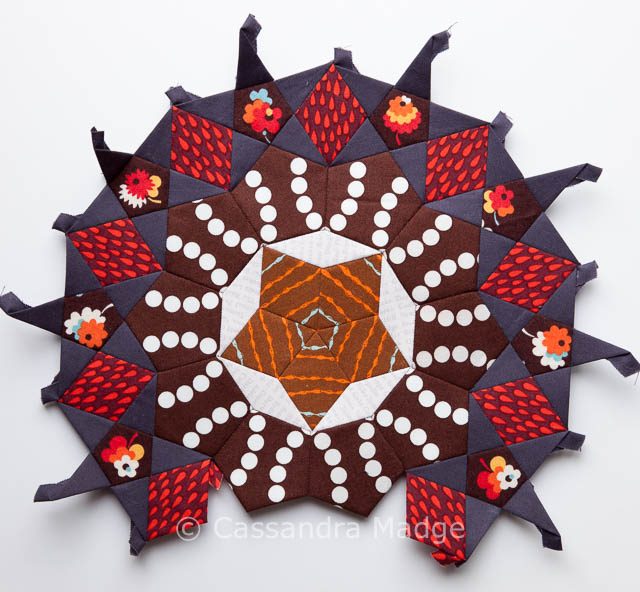
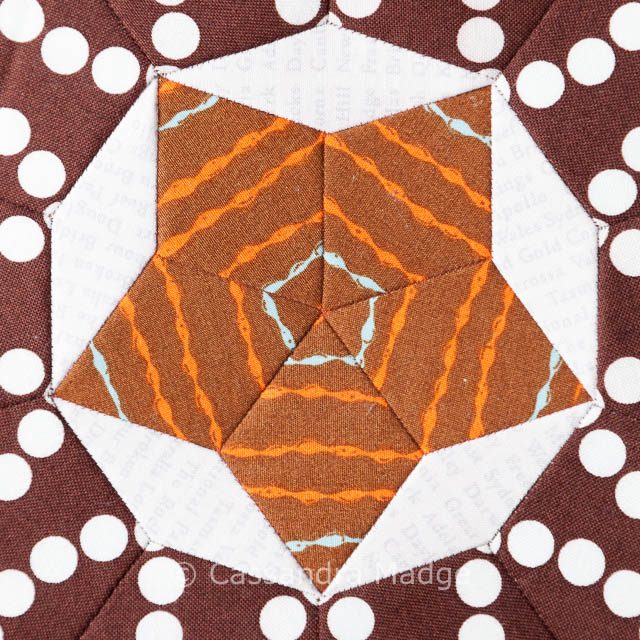
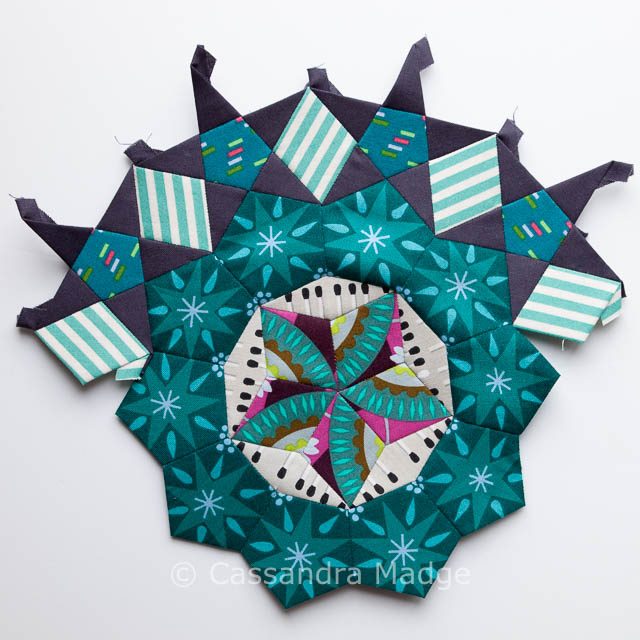
Yes, I did really make a brown rosette. I couldn’t find quite enough fabric to match the centre to the outer browns, but the effect is still striking. The stripe on the star is from the original Mendocino line, whilst the large pentagons are from the Pearl Bracelet line.
I really love how bold and graphic this rosette is, and look forward to adding the drama it supplies into my quilt top.
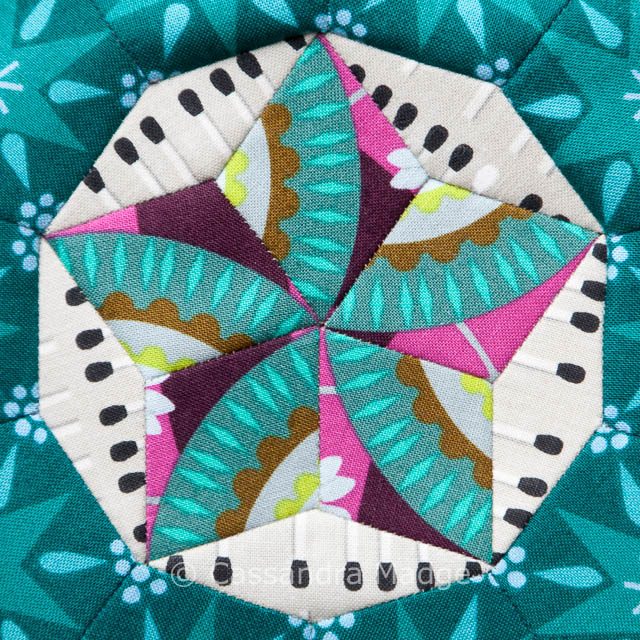
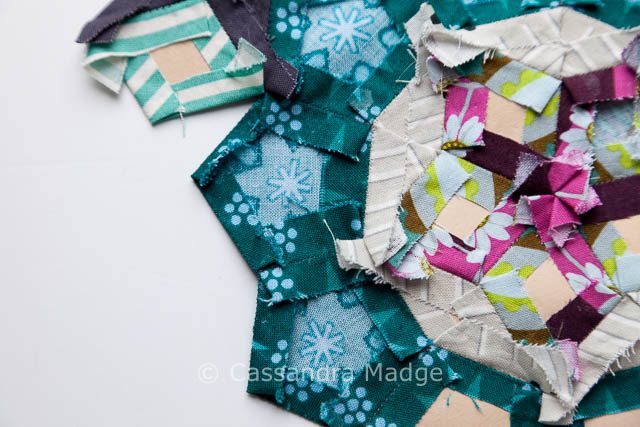
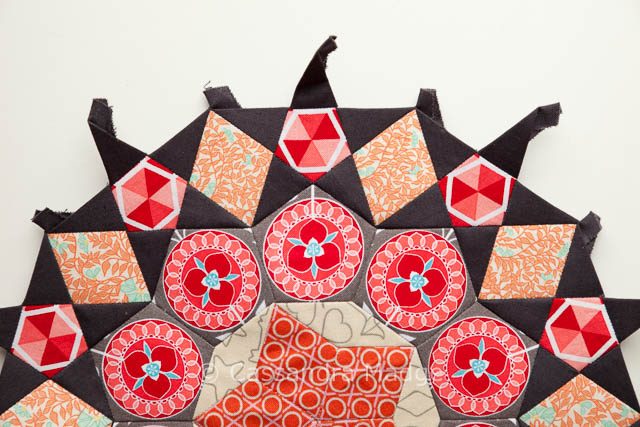
Finally I present to you a blast from the past…. this rosette is one of the first three that I made for my La Passacaglia. I created it before I had a clear direction on how I wanted the colours to work on each individual cog, hence the mix of jade, aqua and coral. Also I used a colour print for the small diamonds around the centre star instead of a neutral print. After much debate and 12 months of thinking, I decided that I wasn’t happy with it and I chose to pick it apart and re-use the pieces.
Because this was such an old block, I had already pressed it thoroughly, setting the stitches, as well as removing most of the papers. I was not sure if I should try to re-insert the papers, however as the seams were all crisp and true, I decided to try stitching without the papers to see how successful it was.
Here is the first half of that rosette made new – using the jade pentagons to create this beautiful version.
You can see that the seams attaching the large pentagons to the smaller diamonds are neat and even, with no sign of distortion or puckers.
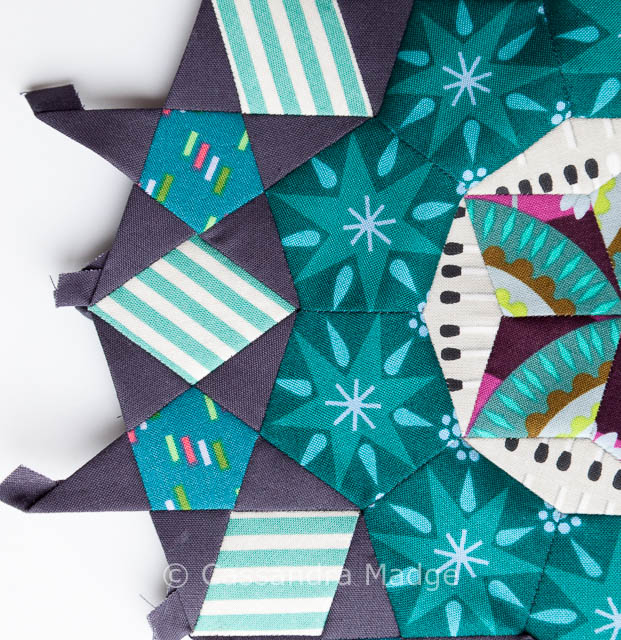
Looking at the back and front views, I would say that as long as you are careful not to pull or stretch the individual pieces, this can be done quite successfully.
Here is the other half of our original rosette. I re-used the centre diamond, along with the outer diamonds and all the charcoal triangles. Once again, I completed the stitching without putting the papers back into the original pieces.
The centre does look a little puckered, however it just needs a good press to be as crisp as before. The stitching process obviously does cause some man-handling of the fabric, so it’s important to be as gentle as possible, as most of these seams are on the bias of the fabric. That means that they are more prone to stretching, as they are without the stability of the basted paper shape inside them.
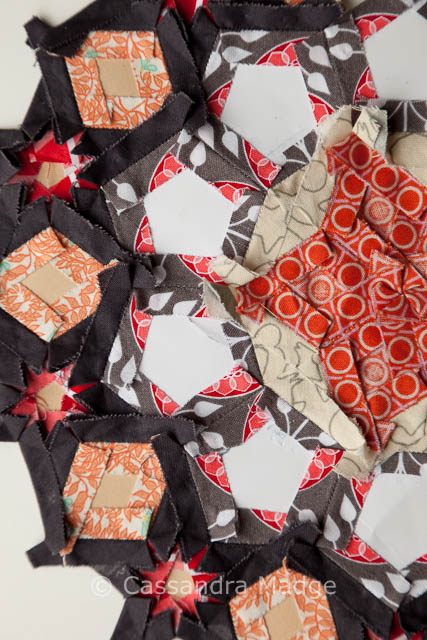
In the rear view above you can see the inner star seam, without the papers, and the way the smaller pentagons were integrated into the existing star pieces, and then attached as the outer ring.
So my sage advice is, don’t give up on your early rosettes, just because your plan or style evolved over time. They can definitely be salvaged and with the right care, turn into something really special!

Please be aware that there may be affiliate links in this content. Your support allows me to keep creating for you!


claire aka knitnkwilt
Pretty, but it looks tedious.
Cassandra
Hi Claire 🙂 Thanks as always for dropping by!
Joyce
Gorgeous!
Clare
I am very new to EPP. The La Pas quilt seems to be calling to me, my Pinterest is full of this design! That’s where I came across your work – it is beautiful! And so neat, something I aspire to but I am definitely a work in progress!
Susan Hobkirk
Just stunning!