I have previously shown you the Sew Together bag that I made for Fiona.

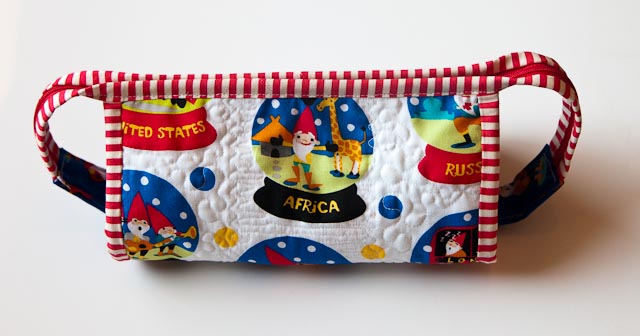
I was bitten by the bug again, and this time whipped up this little beauty for the wonderful Gnomeangel, aka Angie. She’s gotten it, so I’m safe to post these photos now. As I was making it, I took some notes on some tricks that aren’t in the written pattern but make sewing the parts much easier.
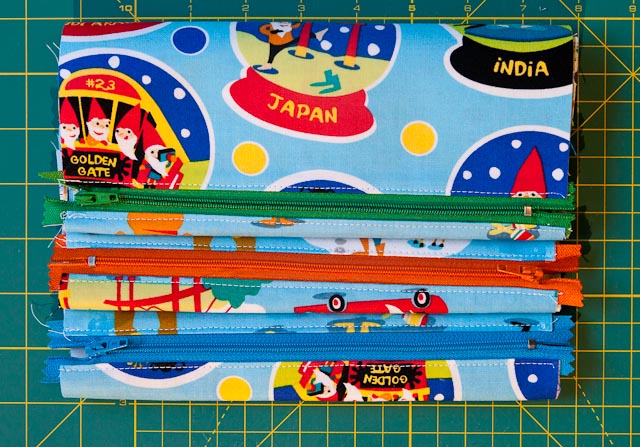
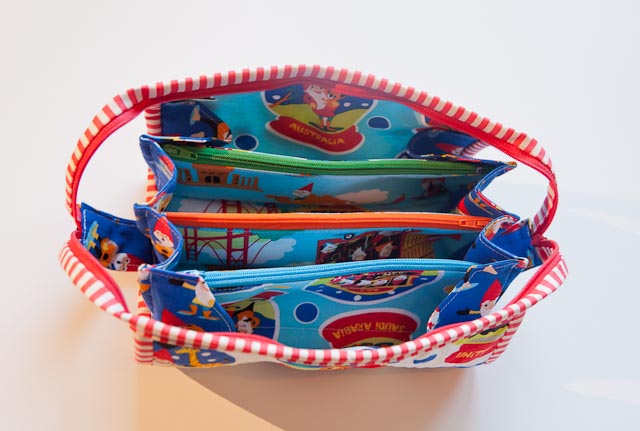
Firstly, when putting in the three pocket zips, it’s much easier if you zip up or unzip all the way away from where you start sewing. (Please click on any of these photos to view larger if you need to!)
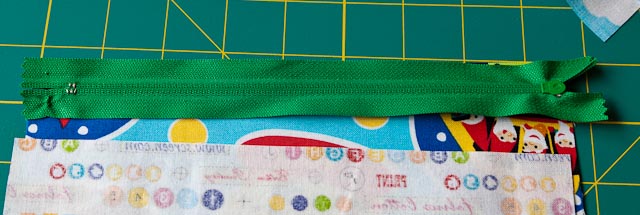

Pin carefully, with the heads pointing towards you.
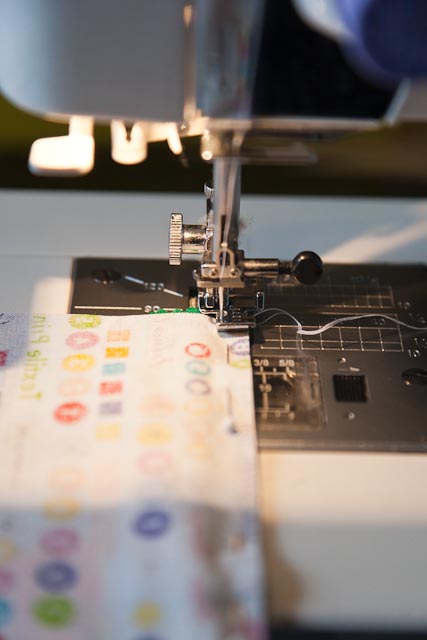
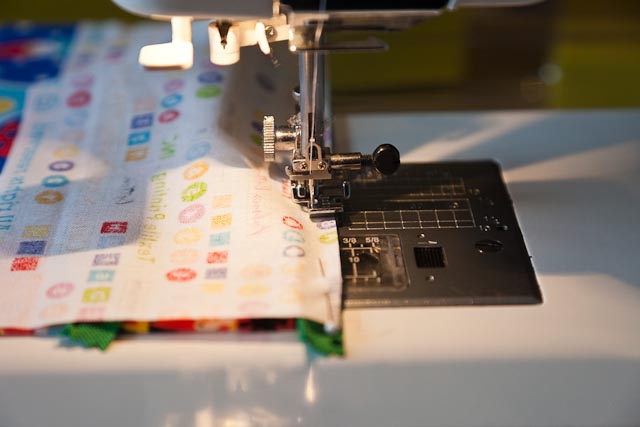
After sewing about 2/3 the way down, with your needle down, lift the foot and PIVOT the fabric around…. this makes it much easier to move the zipper head past the foot. Move it all the way to the other end, and then reposition your fabric, lower your foot and repin the last section. Finish sewing and viola!! No zip wobbles.

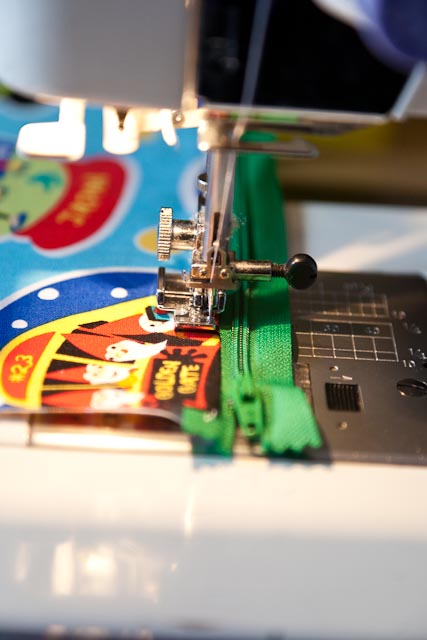


This works whether you start at the closed or the open end…. and I have these marvellous zips to show for it. The same trick applies when you are topstitching afterwards – zip head all the way up or down, sew to 2/3, needle down, foot up, pivot. Move the zip to the other end, and keep sewing!
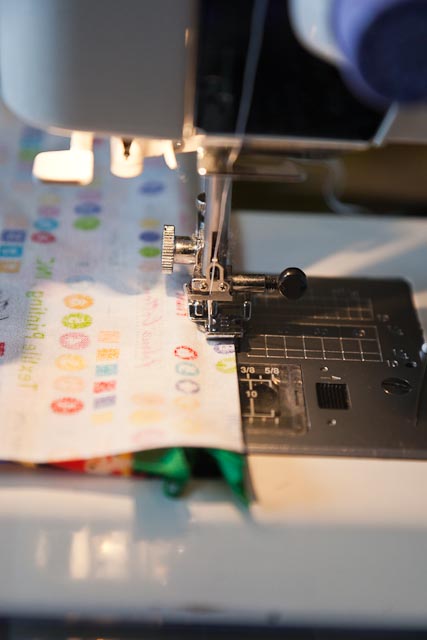
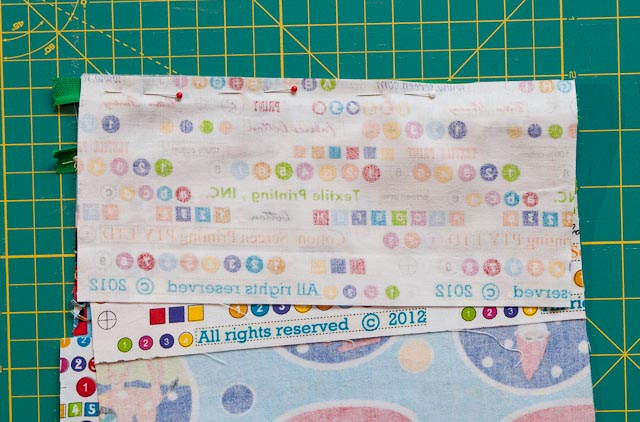
The second tip that I picked up was to sew your pocket section/side section piece together FIRST before attempting to sew it to the outer fabric. There is just too much bulk and too many tricky seam crossings to do this in one hit. As you can see I pin it very well to stop it moving while under the presser foot.
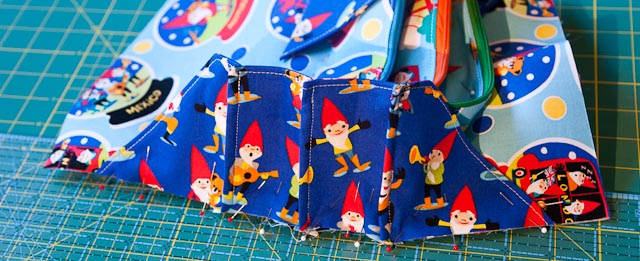
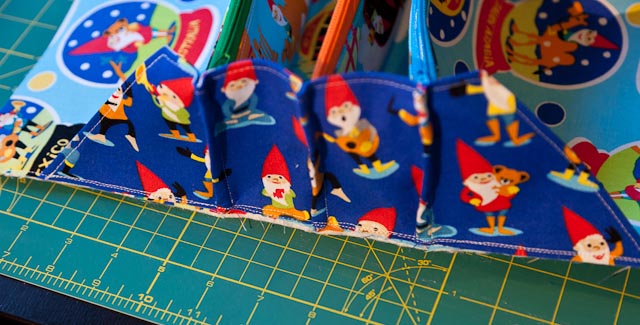
Sew with a scant 1/8″ seam so that it is secure, but will be well hidden by the binding. After it’s all stitched down, add the outer as per the pattern, and stitch again. This will also help strengthen the seam.
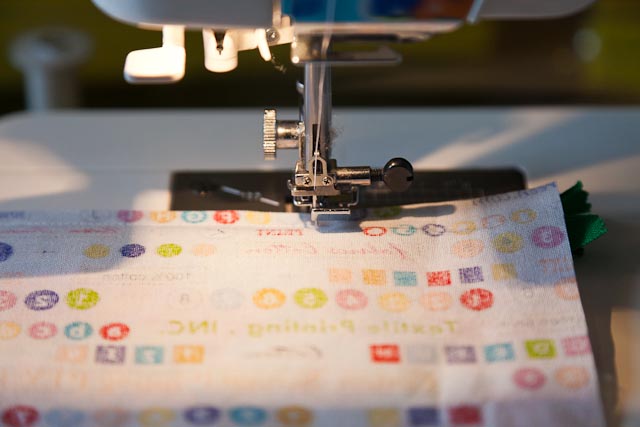
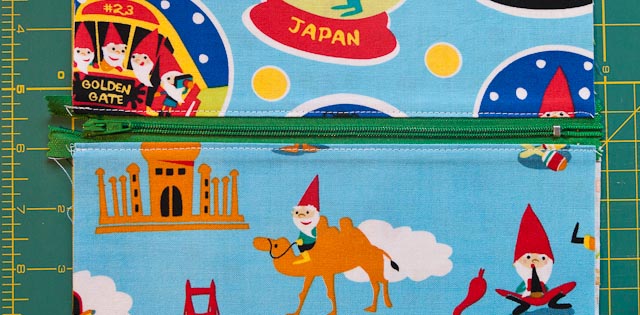
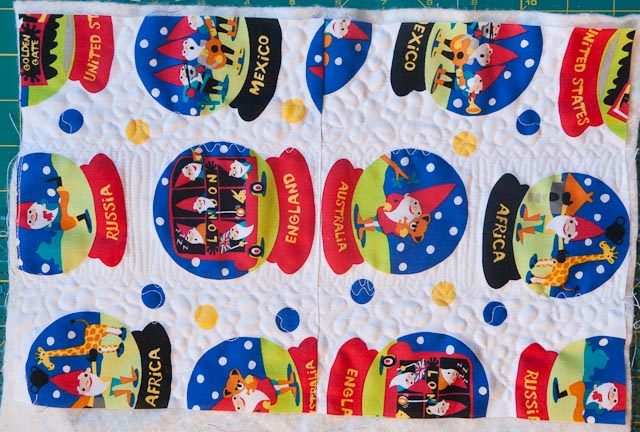
Finally, when you are attaching the zipper & binding to the top, it really makes things simpler if you stitch the zipper down first. This reduces shifting and makes keeping the binding lined up much easier.


Again, using a scant 1/8″ seam will keep this stitching concealed, but will ensure that nothing shifts during this tricky stage.
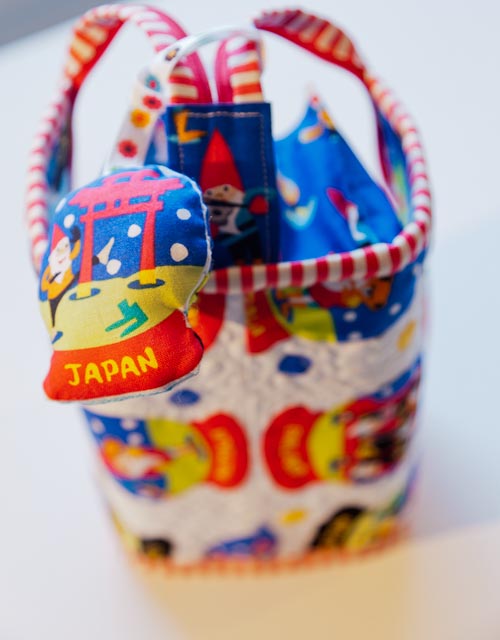
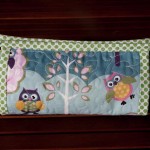
The finished product is definitely worth taking the time over. I love it!!
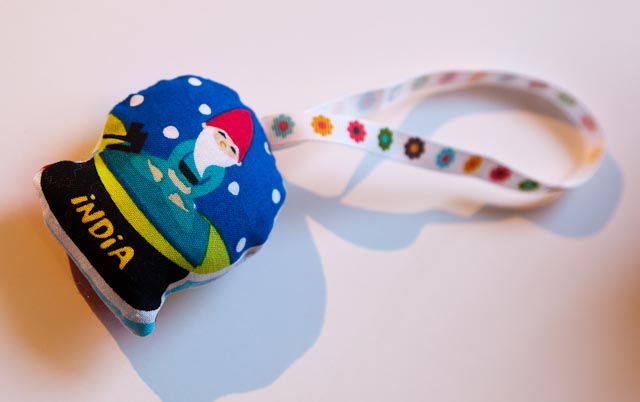
As a little added touch, instead of a pincushion inside I made a little hanging pincushion using the snowglobe gnomes! It is attached to a length of ribbon so Angie can hang it on her scissors, or around the outer zip of the bag. These guys are just so cute!!
Of course you know I’m already planning my next one. Who will the lucky owner be?
If you want to make your own, you can get the pattern from Sew Demented on Craftsy or Etsy (no affiliate links here!) Don’t forget the Quilt Barn has several blog posts for the sew-a-long they hosted for this bag, you can find them HERE.

Please be aware that there may be affiliate links in this content. Your support allows me to keep creating for you!

Janine
It looks great. I think you should run a workshop for these. I’ve been wanting to make one, I’ve got the pattern but don’t have the time!!! So if you were to organise something I’d put my hand to come along 🙂
Cassandra
Janine, I’d love to work through it with you one day 🙂
Janine
That would be great Cass we should work at a time one of these days!!
Wendy
Thanks for the tips. We are going to make this bag at our local quilting group so these tips will be very handy.
Cassandra
So happy to be of use Wendy, you will have to update us on how it goes!
Sharon
Next time you get ‘bitten by the bug’, I think one featuring ‘sharon green’ prints/plains would look amazing!!! 😉
Cassandra
I definitely think this bag would look impressive in Sharon Green…… 😉
Sew together in Sharon Green | Cassandra Madge
[…] all good addictions, once you make one Sew Together bag, you want to make 2 or 3 or more. You realise how handy they are, for keeping stitching, knitting, or even makeup together! You […]