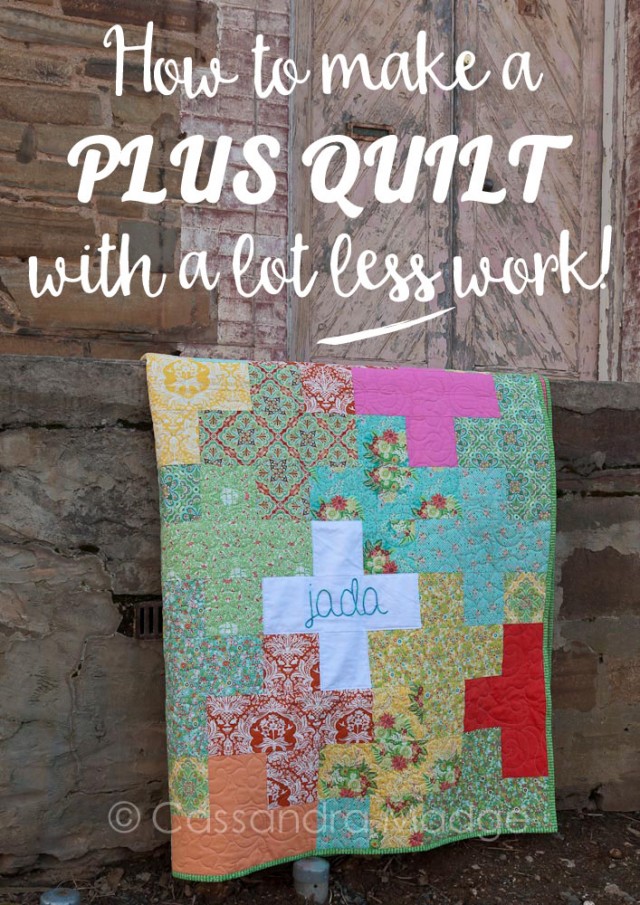
 Any shortcut makes life a little easier in the cutting fabric up and sewing it back together department, right? Patchwork is awesome, but less seams is better. When I decided to make my own plus quilt, my immediate thought was just to cut a whole lot of squares, and assemble the + from those. Hang on a minute…. Why use all squares? Why not use 2 squares and a rectangle. You will save yourself two seams per plus, as well as the extra fabric hidden, and indeed wasted, in those seam allowances.
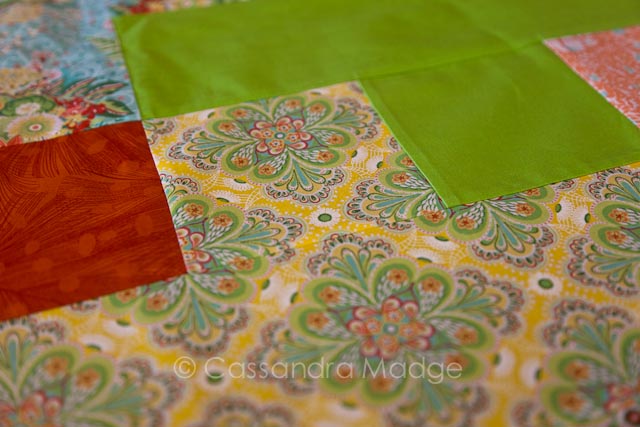
For my plusses to be 4″ finished across the arms, I calculated that each plus would require 2 4 1/2″ squares, and one rectangle 12 1/2″ long by 4 1/2″ wide.
Here is how to get 3 full plusses with minimal wastage out of a fat quarter – assuming that you have no directional print to worry about. 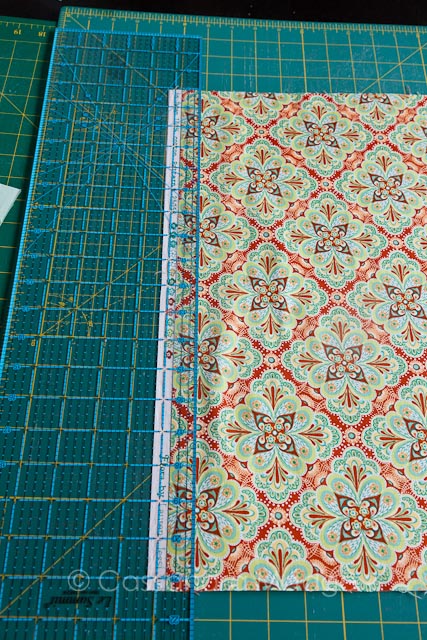
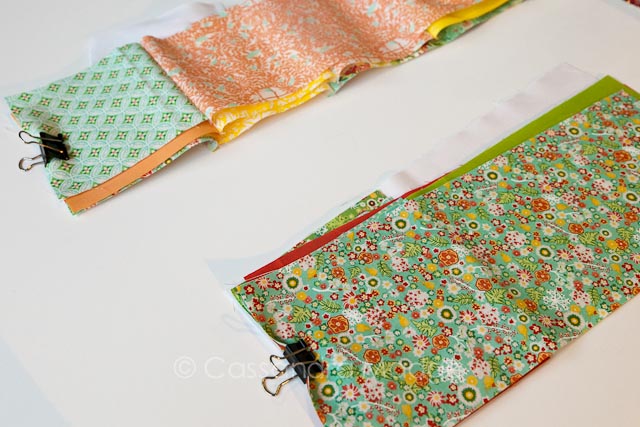
Firstly press your fat quarter and trim off the selvedge edge. I used a generous trim as I am saving these for a special project.

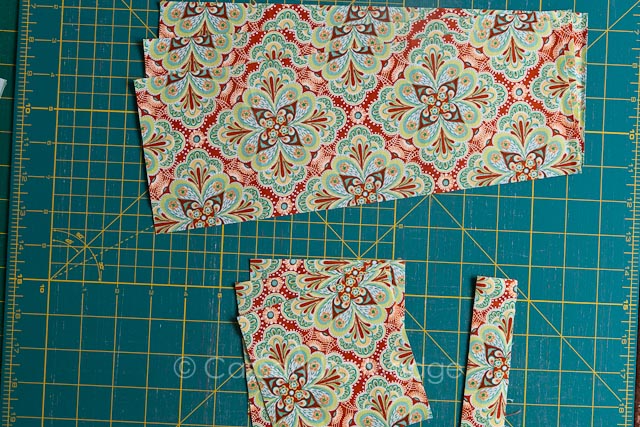
Moving across from that cut, make 4 parallel 4 1/2″ cuts across your fat quarter.
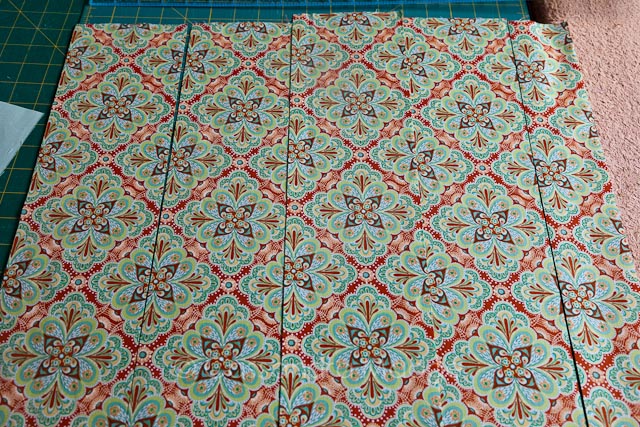
You will have some wastage at the other end, however the strip is wide enough to be useful in a future scrap project!
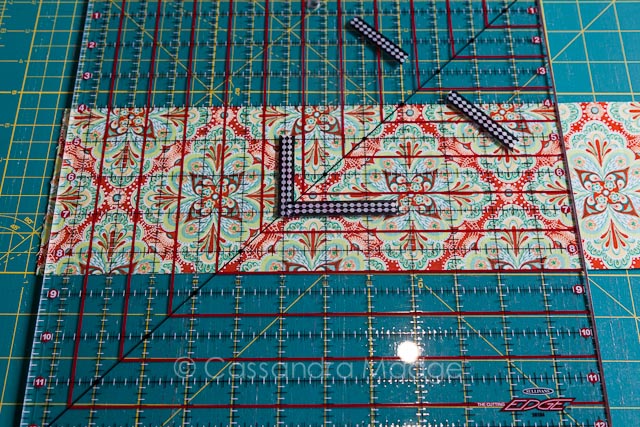
Taking three of those strips, stack them very neatly together, aligning the sides carefully. I slide my 12 1/2″ inch ruler just past all the uneven edges on the left, and make my first cut on the right. Then you spin the whole stack and square off those edges.
From the stack you just cut off, you will also get three 4 1/2″ squares, plus a tiny piece of wastage.
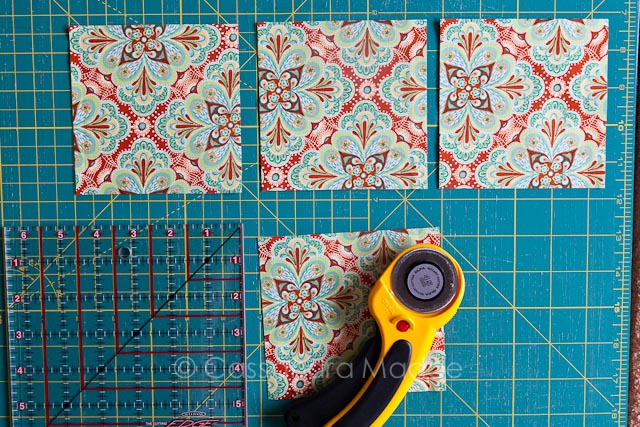
Finally, using a similar process you will cut three more 4 1/2″ squares from the last strip. The piece under the rotary cutter in the picture above is your wastage, and usually measures just on 5″. Hold onto this, as these pieces are very useful if you need to fill in some end gaps on your final layout.
Now you simply repeat the process over all your fat quarters. If you have a directional print, you may have to cut your strips out from the selvedge instead of across it. I was only able to get two full plusses cutting in this direction, with a lot of wastage.
If you are cutting yardage, such as a solid to mix in with your fat quarters, you will simply cut 4 1/2 in strips across the fabric in the normal way. Just make sure that for every 12 1/2″ rectangle you cut, you will need two 4 1/2″ squares to match.
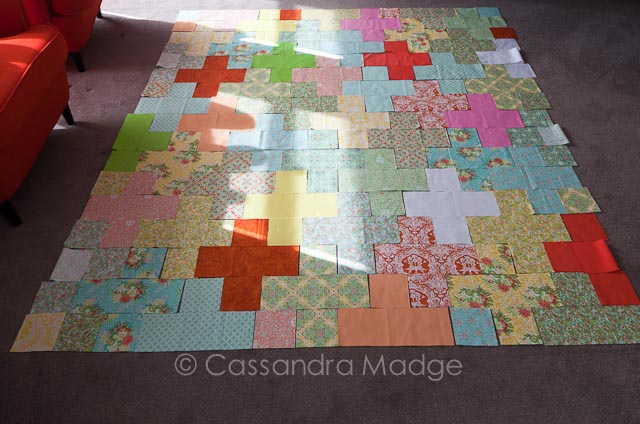
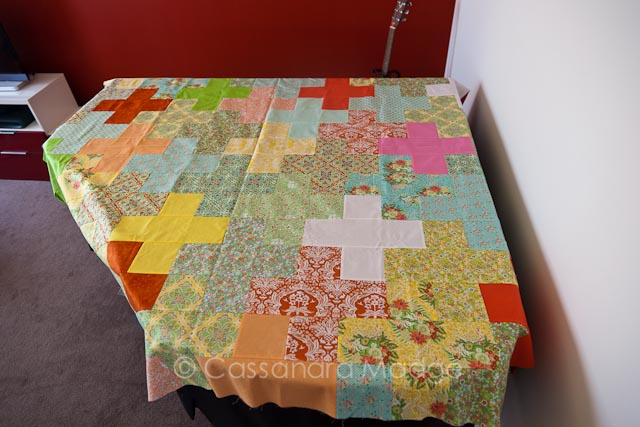
Laying everything out, you can see that I didn’t bother trimming any excess pieces from the sides. They will come off after it is quilted and squared up but in the meanwhile, they help keep things in line. Here I simply folded them back on themselves to allow me to visualise the straight line up the sides.
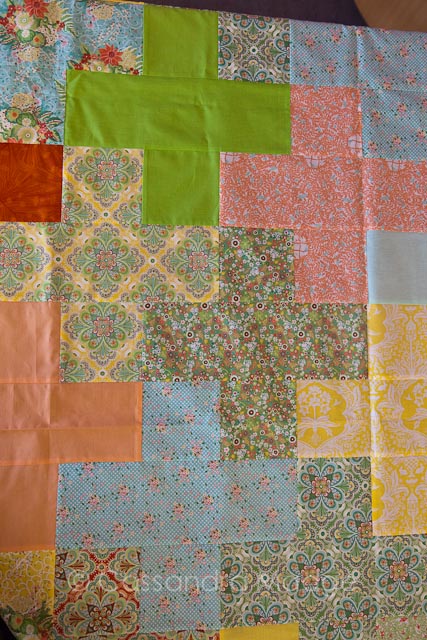
To piece, it is easiest to stack every row up, left to right. I worked in batches of 4 rows, stitching them by column, then the 4 rows together before moving on to the next batch. This made keeping the design in order very simple. Press each row to the side, alternating directions as you work through them. That will help keep the rows nested together when joining.
What makes this process even easier is that there are less seams to match up when you are joining the rows. In a traditional square layout, every 4 inches you will have a seam intersection to line up. Using rectangles, there is an average of 3 seam intersections per row joined. This is perfect, as it allows you to keep things straight and lined up, however there is enough space in between them to allow for a little “easing” if things aren’t quite right.

So, with two less seams per plus, less wastage of your precious fabric, and less seam matching to do, I would say this is definitely an easier way to make a plus. Wouldn’t you? Have you made one of these quilts? Do you have any advice for everyone or hints that made it easier for you?

Please be aware that there may be affiliate links in this content. Your support allows me to keep creating for you!
Christine
This is such a timely tutorial! I have had a Plus quilt on my wish list for my Tula Pink fabrics, I just haven’t figured out how to make one yet. Love this post; your pictures and instructions are fantastic. Thanks so much for sharing!!
Cassandra
Christine, I’m so glad it could help you. If you have any questions let me know!! A plus quilt in Tula sounds just wonderful. Please make sure you show it to us!
Angie @ GnomeAngel.com
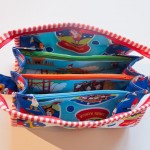
I loved making my plus quilt for the Granny Mac Bag – I’m totally going to make another one soon.
Cassandra
Granny Mac Bag being THE most awesome shopping cart in all of history!!
Rachel
Thanks so much for sharing! I love plus quilts, though I am yet to make one. Pinning for future reference!
Cassandra
They are such a great way to show off a favorite fabric line. I will definitely make another one 🙂
agnes
Thank you for posting this! I just found your blog and it’s lovely! I’ve been wanting to make a plus quilt but haven’t sat down to figure it out. Now I don’t have to!
Cassandra
Thankyou so much for those lovely words Agnes! I hope that you will come back and share your quilt with us when you do make it 🙂
Fiona
Oooh fabbo! Yes to make a plus but it certainly makes more sense this way.
Cassandra
Thanks Fiona!
Mandy
Cassie, Why didnt you show me this 2 years ago when I made a plus quilt then!! I found it time consuming
and fiddly, wish I had seen this. Now I may just attempt another one for me as I loved the look of these quilts.
Yours is another beautiful quilt top, are you quilting it yourself?
Cassandra
Thankyou! I hope that you do make another one, they really show off a beautiful fabric. Or, if you make it in solids, it can show off your beautiful quilting! Yes absolutely I’ll be quilting it myself. Bought the backing last week, it’s just a pity I don’t get to keep this one 😉
2015 Finish-Along, 3rd Quarter | Cassandra Madge
[…] Flora Plus quilt (with pink backing above it). […]
Alicia
Hi!
Did you do a strict job in the ditch along each seam on top?
Alicia
Hi!
Did you do a stitch in the ditch along each seam on top?
Cassandra
Hi Alicia, thanks so much for your question. I didn’t actually find it until now, my apologies. No, I didn’t stitch in the ditch on any seams on this top – I did an edge to edge design over the whole thing, except for the plus that I used to embroider the recipients name on. You can see a few shots of the finished and bound quilt here – https://www.cassandramadge.com/2015/10/02/floribunda-quilt-because-you-can-never-have-too-many-flowers/
Happy quilting!
Cassie