My lovely readers have asked for it, so here it is. Like all things in sewing, I’m sure there are other ways to do this, but it’s simple and quick and works for me.
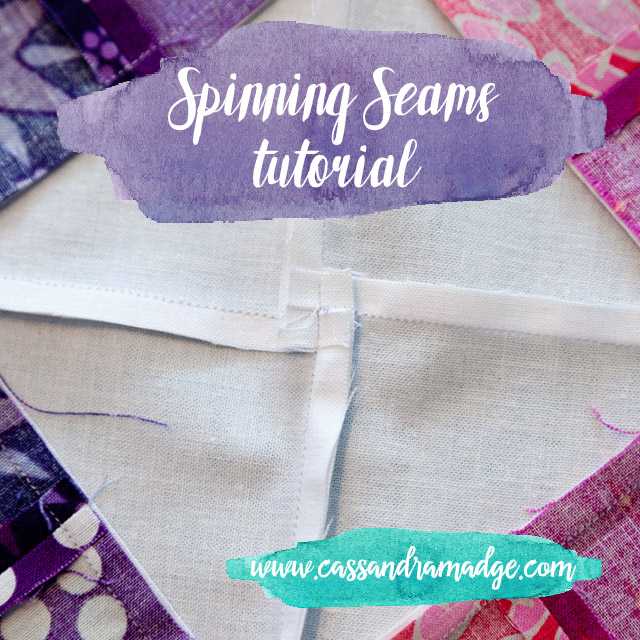
For this tutorial I am going to show you on a simple square four pieced seam – however the same theory applies regardless if you are making a block using triangles, or more than 4 seams.
The two keys are that all seams need to be pressed sideways, and must be pressed in the same direction, whether that is clockwise or anticlockwise around the seam intersection.
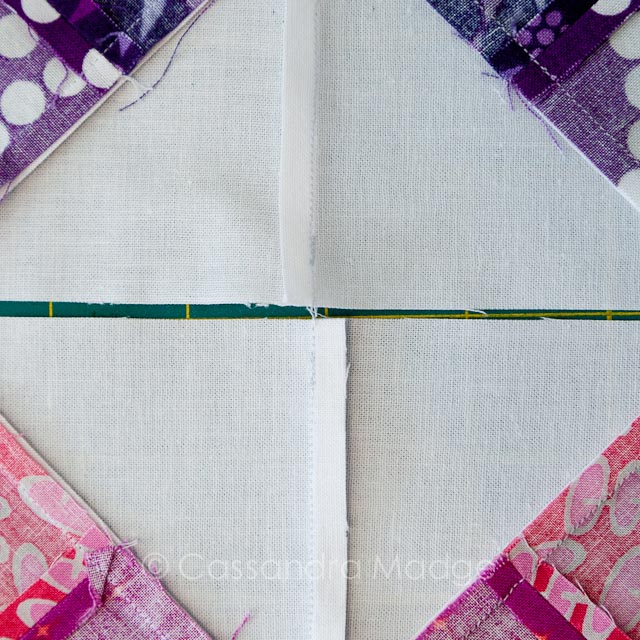
Here are our 4 pieces. I have stitched them together into halves along the centre seam – notice that the seams are both pressed anticlockwise, so that they are now sitting in opposite directions. This is also idea for getting nice sharp corners on your blocks. Think of your central seam intersection as the middle of a clock face and press all your seams accordingly. If you need to take your pieces to the pressing board and lay them out to help visualise this, do it.
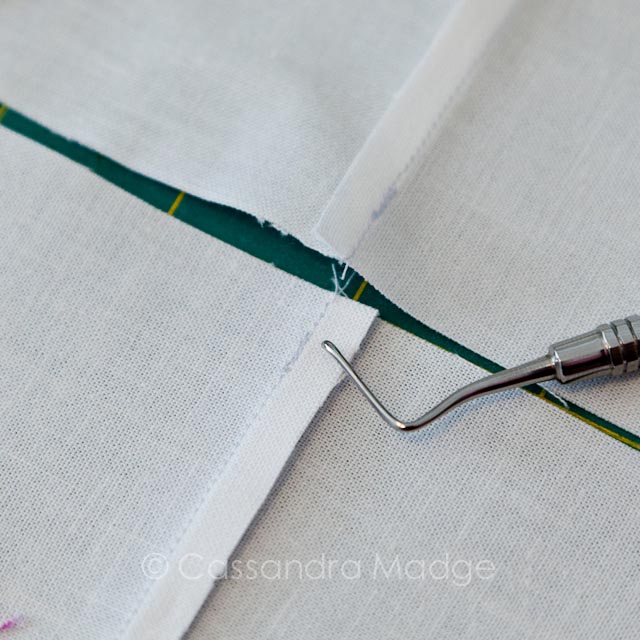
Because this technique involves unsewing a couple of stitches on these seams, I stitch down the seam approximately 1/2″ then BACKSTITCH up 1/4“, then continue to stitch the seam. This avoids any further unravelling after the seams are spun. My wonderful little sewing pick is showing you where I left just a single line of stitching over the 1/4” seam allowance, followed by my backstitching area.
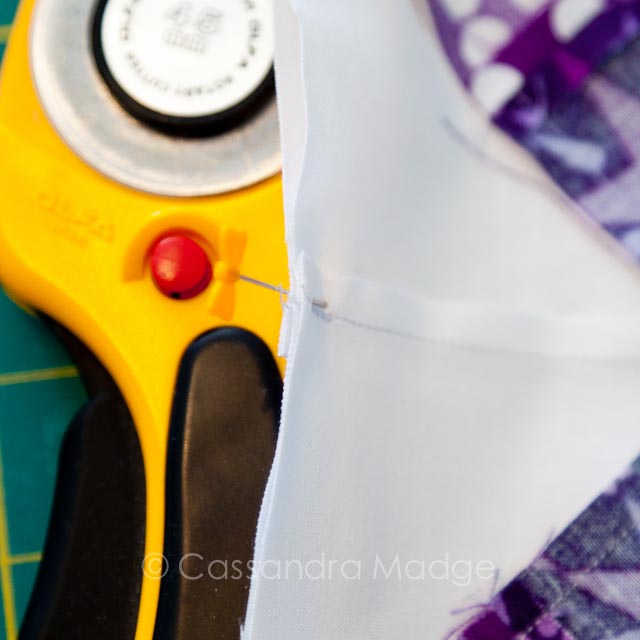
When you pin the final central seam together, make sure that you nest the opposing seams securely. Put one or two pins through them to keep them from moving apart whilst sewing. Your final corner will be snug and perfectly pointed.
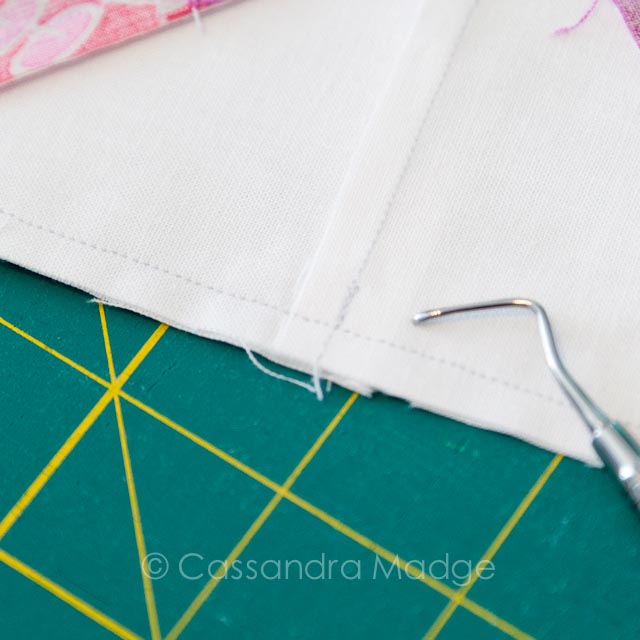
After you have sewn the two halves together, your centre seam intersection will look like this. Notice how the backstitching is behind where the seams cross?
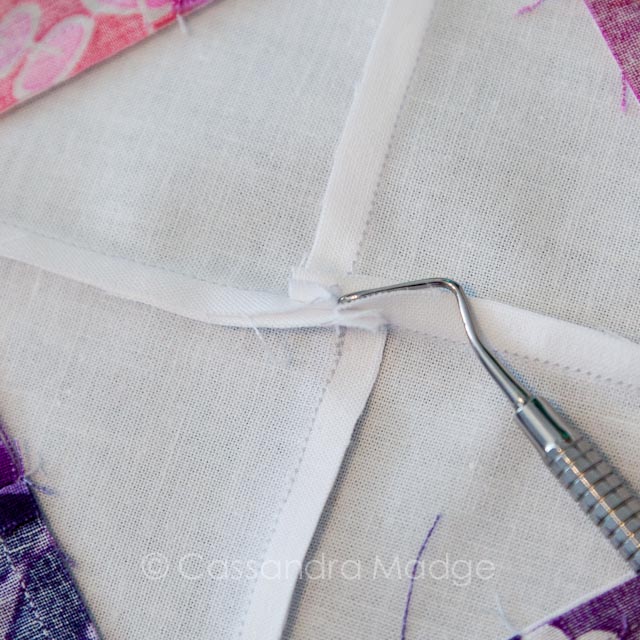
Now, remember that ALL seams will be pressed the same way – so the left and right halves of this long central seam will be pressed anticlockwise, the same as the top and bottom seams. I’ve wriggled the point of my metal sewing pick into the seam to show you what it’s made up of. It is quite easy to separate it into two distinct halves.
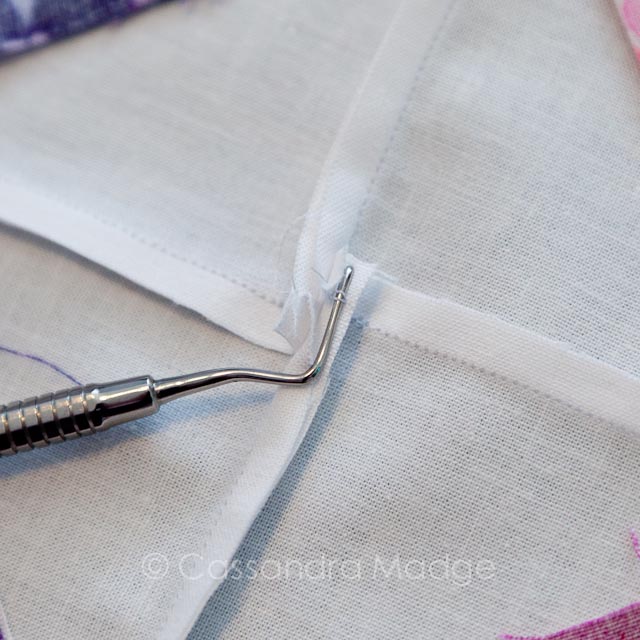
My apologies, but I had to change camera angles for the next two shots. Locate the stitches holding the halves together (the raw edges of the seams sewn first) and wriggle a couple of them undone. This will let you flatten and open the seam intersection out.
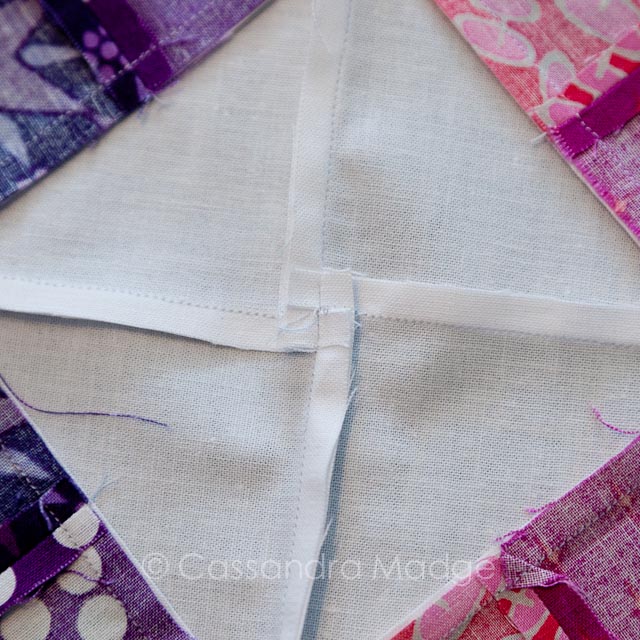
Even before pressing, you can see how the seams are naturally folding over in the anti-clockwise direction, and the centre is no longer a lump of seam allowances, but has been opened up like a flower into four cute little squares.
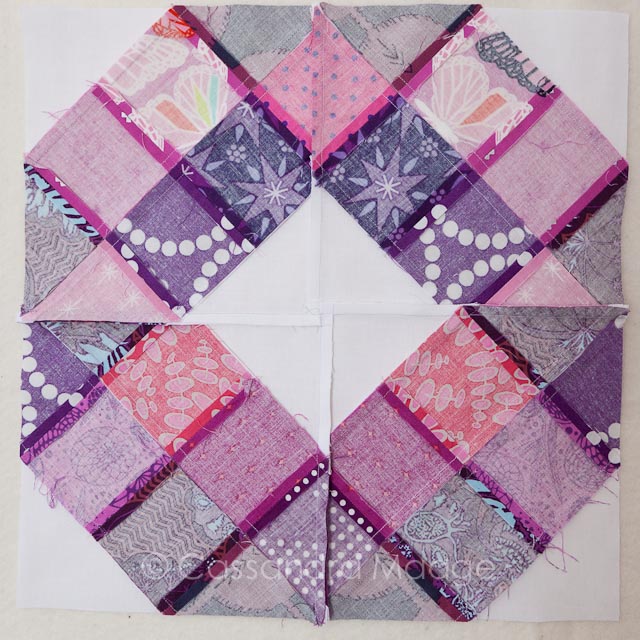
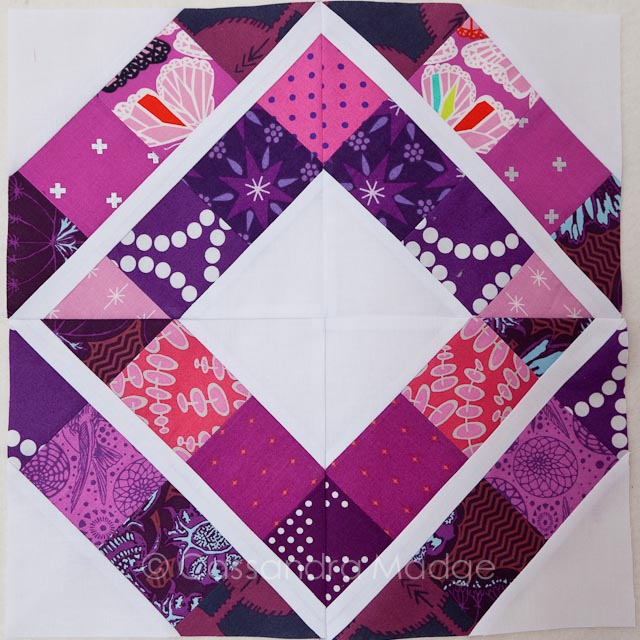
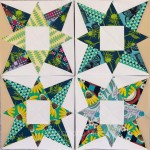
Give it a good press, stand back and admire your perfect corner and beautifully flat block. I am using this technique over and over lately and these few steps are becoming second nature. With that, my final block for my Aussie Modern Insta Bee quilt has been sewn. Now simple to decide on a layout and stitch it all up!
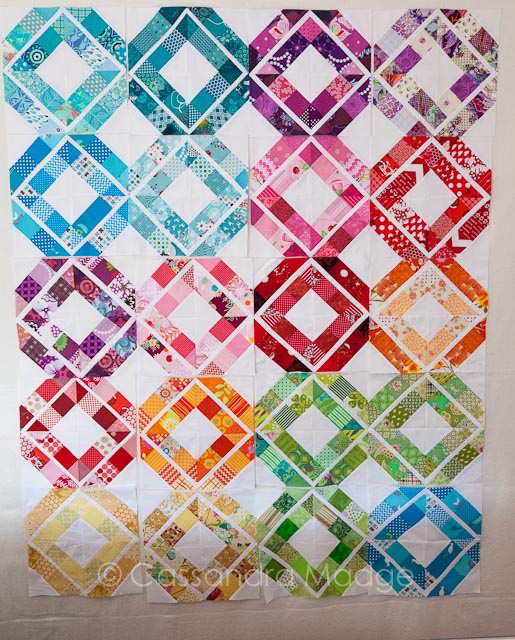
Give it a go and report back how you liked it…. be sure to let me know if there is something I missed or you need help with!

Please be aware that there may be affiliate links in this content. Your support allows me to keep creating for you!



agnes
Thank you for this tutorial! I need to give it a go! The new layout looks fab!
Cassandra
Thanks Agnes! I’m ready to piece her up and get it on the frame. So very exciting. Hope that you master the spinning seams, report back if you do!
Myrto
Thank you Cassandra!
Cassandra
You are very welcome!! I hope that it helps, let me know if you need any more information or think of a new tutorial for me to make!
Caroline
Thank you for this! It’s clearer than any other explanations I’ve seen. I like the fact that you backstitch — I’m always a bit worried that unpicking a few stitches to flatten the seams will end up unravelling everything. Can’t wait to try this!
Cassandra
Thanks Caroline! It’s so hard to show the tricks on such a tiny 1/4″ scale, I’m glad that you found it clear. Yes, the backstitching was how I got my head around it, without it I was terrified of having holes in the middle of my blocks! Let me know if I can help you any in other quilty ways 🙂
Farmer’s Wife 1930’s – Jewel and Sara | Cassandra Madge
[…] “twirled” my centre seam to allow it to join neatly but reduce the bulk in that point. I covered this in detail HERE, it’s a neat little trick and definitely one worth […]
Paper piecing Star Bee update – October – Cassandra Madge
[…] Simple Spinning Seams Tutorial […]