So, hands up who chain pieces. Everyone, right? However, I discovered last week that there is a whole new level to chain piecing – making multiple rows into single chains to keep a complicated quilt layout in order.
Wow. Mind officially blown.
Just to show you what I mean, I will demonstrate a little bit with my Candy Ripples quilt.
As you can see there is a distinctive diamond pattern here, however each individual block is not always so clear. Some fabrics are the light colour in one row, but the dark colour in another, all depending on what is next to them! How to sew these 200+ blocks into a quilt top without turning one around, or in fact, losing my mind? Chain piecing! Full thanks must go to Penny Poppleton who patiently coached me through this. I’m such a visual learner!
I collected each column into one careful stack, from top to bottom. Placing the first two stacks side by side in front of my machine, I sewed them together column 1 to 2, just leaving a little “stitch tail” between each pair of blocks. Now, you add column 3 to your sewing machine. Starting again at the top, this time sewing the 1+2 unit to the 3rd column, again leaving a little uncut thread tail between each row.
I went on to add the 4th column to these growing rows, however things become a little unwieldy after that, so four columns is my limit. What do you now have? 15 rows of 4 blocks, all joined together by little pieces of thread, and ready to be stitched again.
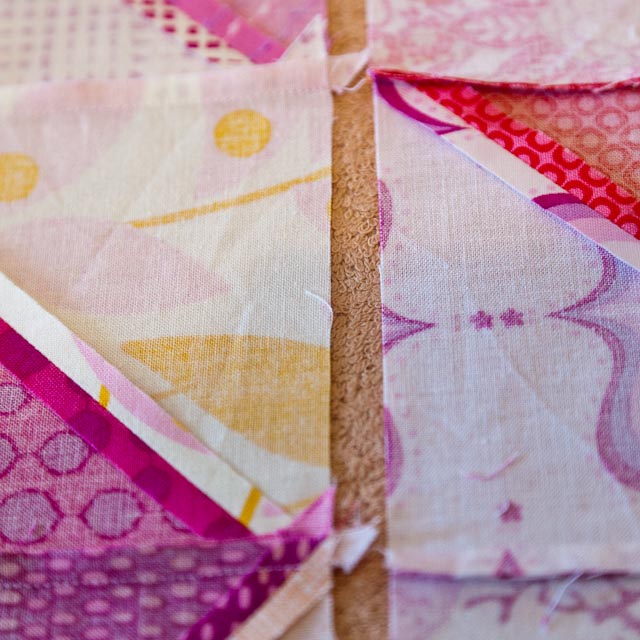
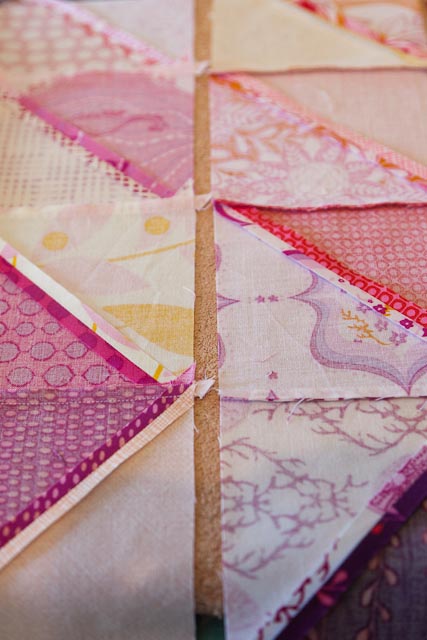
You can see here between the dog ears that haven’t been trimmed, the little connecting threads holding the rows together.
I found the whole section easiest to wrangle by folding, concertina style, then only handling a couple of rows at a time. At this stage, I carefully pressed all my column seams in alternating directions so as to nest the rows together.
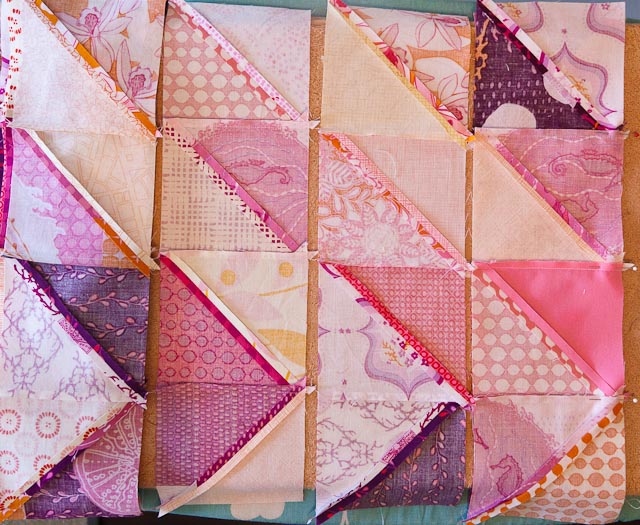
You can see that here I have already pinned row 1 to 2 (right sides together of course), nesting the 3 column seams into each other. Because the rows are all connected, there is no chance of accidentally turning one around or changing the order of them. Then it’s back to the machine again!
Using this technique I managed to get a whole section of this quilt sewn together in an afternoon, with many breaks for puppy playing, tea drinking etc. It took a little time to get into a rhythm, but once I did, it made a world of difference and this is now my not-so-secret quilting weapon. I hope that someone who is a visual learner, or on the fence about the technique finds this a little bit useful!

Please be aware that there may be affiliate links in this content. Your support allows me to keep creating for you!


Fiona
Oooh I need to try this! Thanks Cass (& Penny)