Hasn’t it been a fun month of Hazel Hedgehog quilting? If you haven’t gotten deep into producing your hedgehog blocks, I thought I’d start off by sharing a couple of little tips that I found very useful while I was making my four beauties.
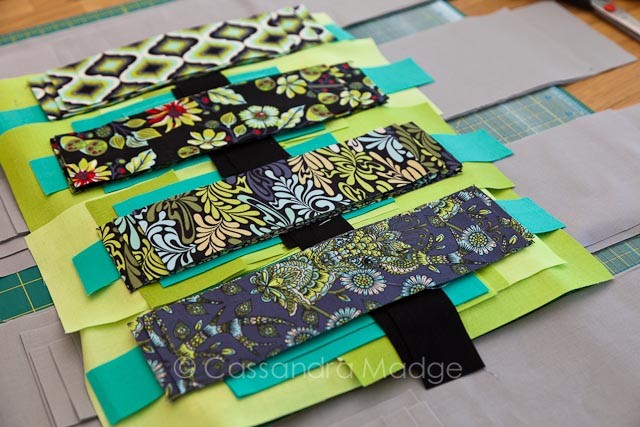
Firstly, cutting. I cut everything in one go, for all four of the large blocks, keeping them organised into piles for each one. It made piecing so much quicker! I did find that with careful cutting I was able to get the background out of a lot less than the pattern stated, and my faces I cut out of one half meter of fabric.
My fabrics of choice were Tula Moon Shine for the spines, Kona Candy Green for the body and a Riley Blake Ombre solid in Green for the faces. The background was Kona Iron, the eyes and nose were cut from Kona Black. All fabrics purchased from Clair’s Fabrics.
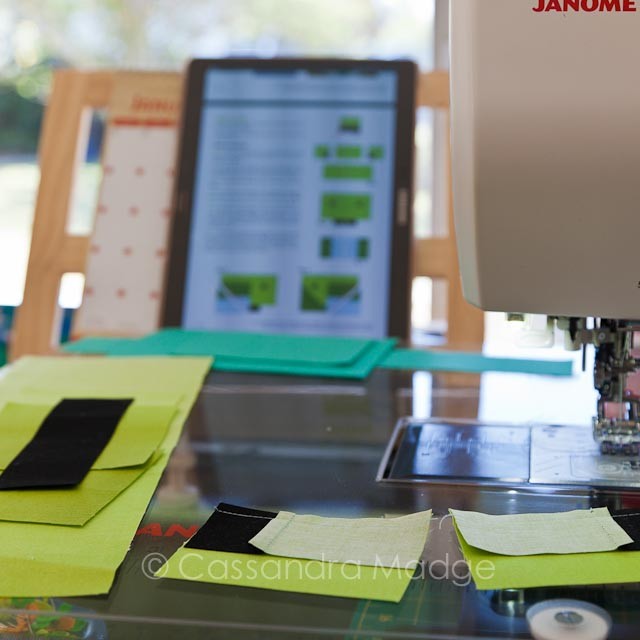
Once you bring a face pile to your sewing machine, you can organise your strips by stage. I used my PDF pattern download on my tablet, sitting on an easel behind my machine for quick reference.
I did choose to press the majority of my seams to the side instead of open, because it’s the preferred practice by most long-arm quilters.
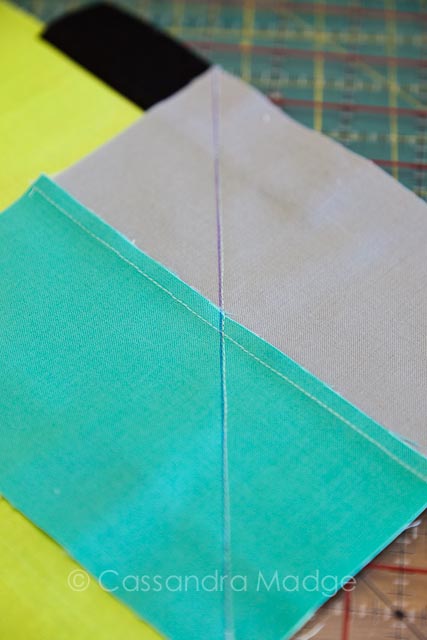
I also chose to stitch just outside of my drawn diagonal lines, slightly towards the “off-cut” side. This method takes into account the fabric lost when pressing seams to the side, so that the finished angle is the perfect size. This tip works for any flying geese type units you might sew also.
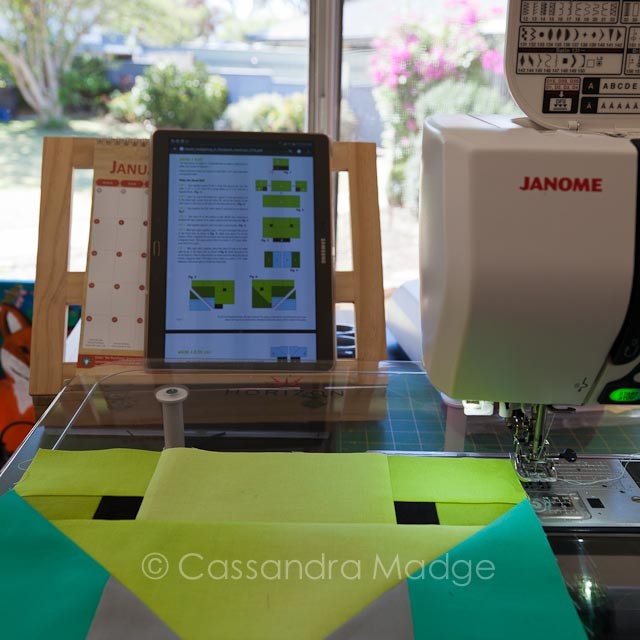
Before you know it, you’ll have a face!
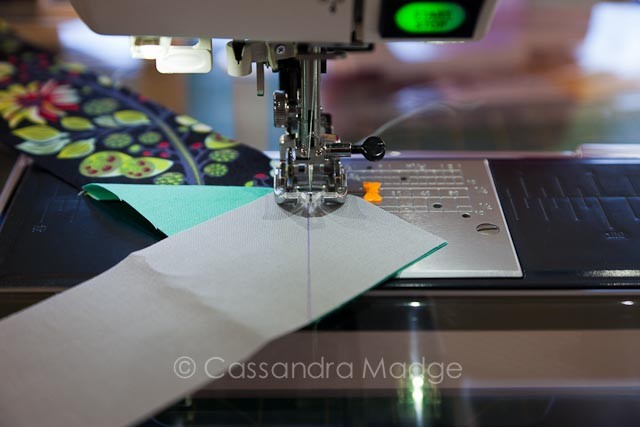
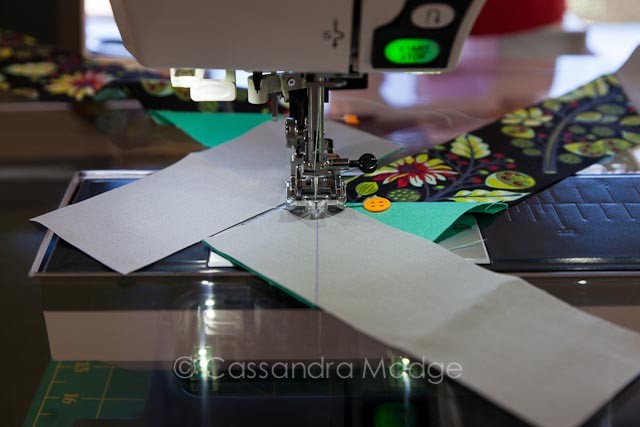
The next tricky stage is keeping the spines in order, and making sure you create a left and right pointing one. I found that I could stitch them in pairs, chain piecing them together to ensure I had one pointing each way. Keep pairing and stitching, pairing and stitching. There is a real rhythm to this stage.
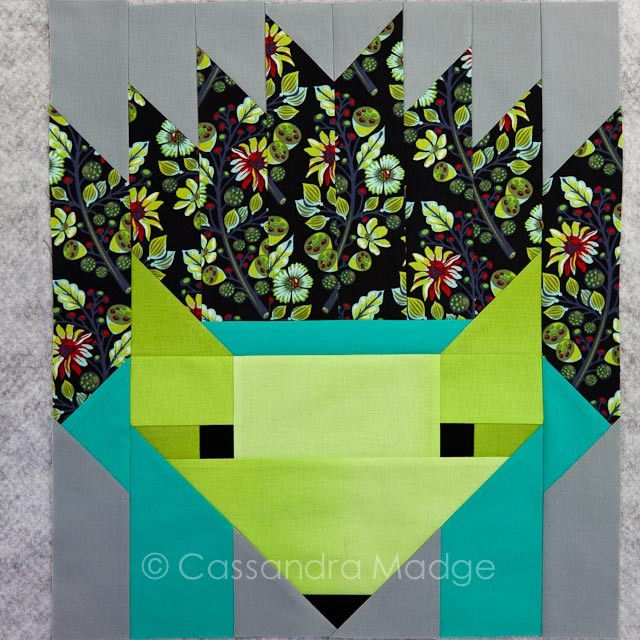
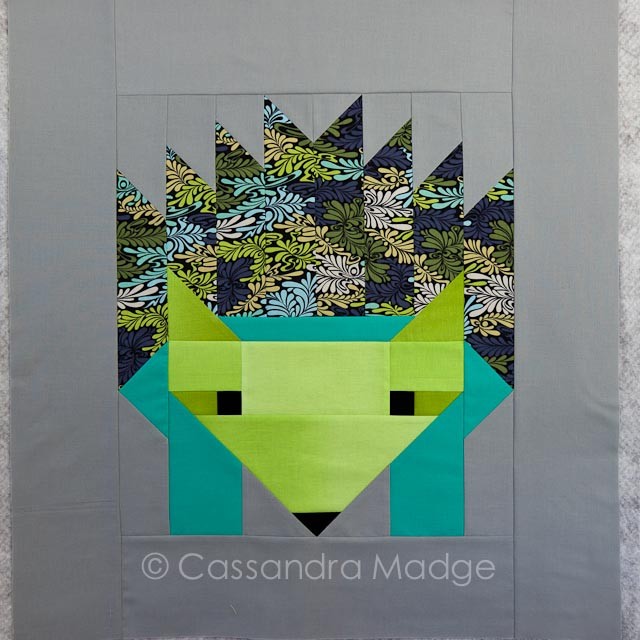
Out of the orderly piles of fabric, a hedgehog appears!! Quickly followed by more!
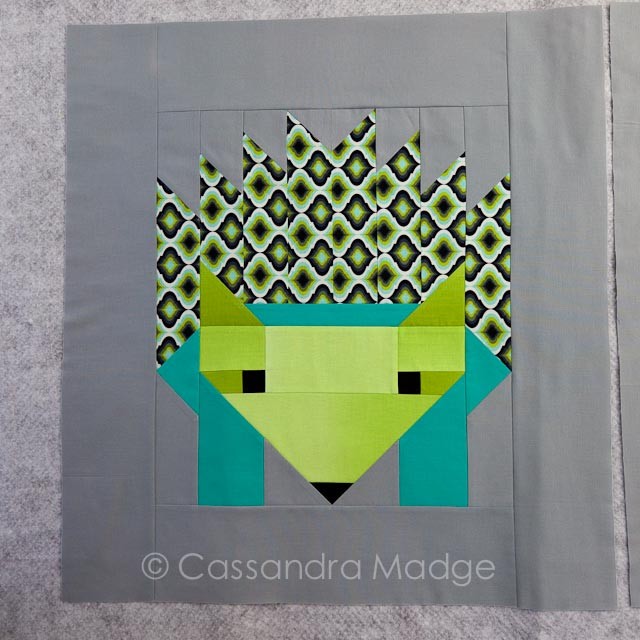
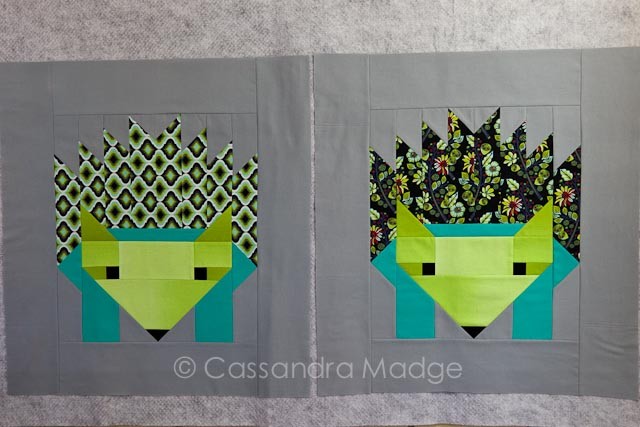
My favourite part of making these is carefully aligning the spine fabric before choosing which to stitch left/right. You can have some fun re-creating the patterns….
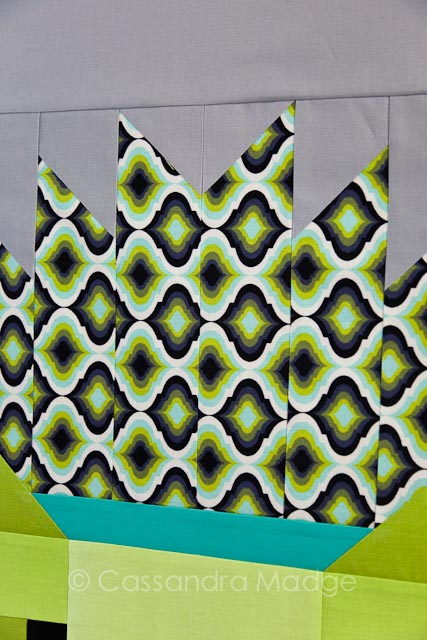
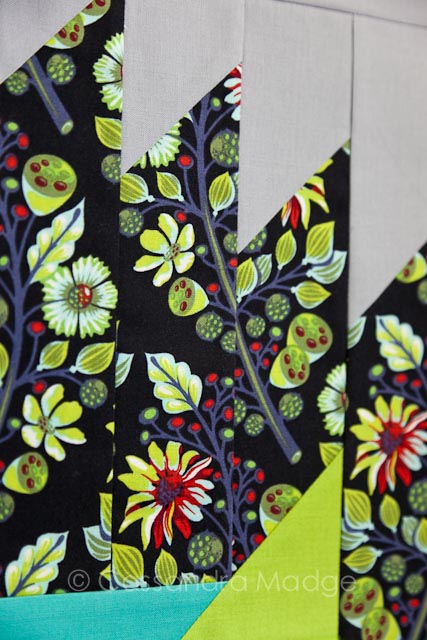
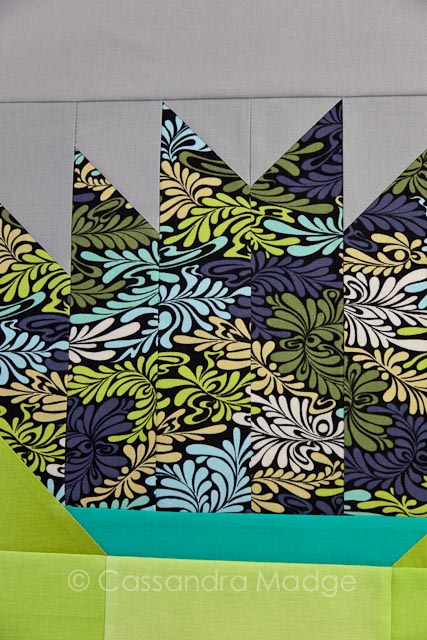
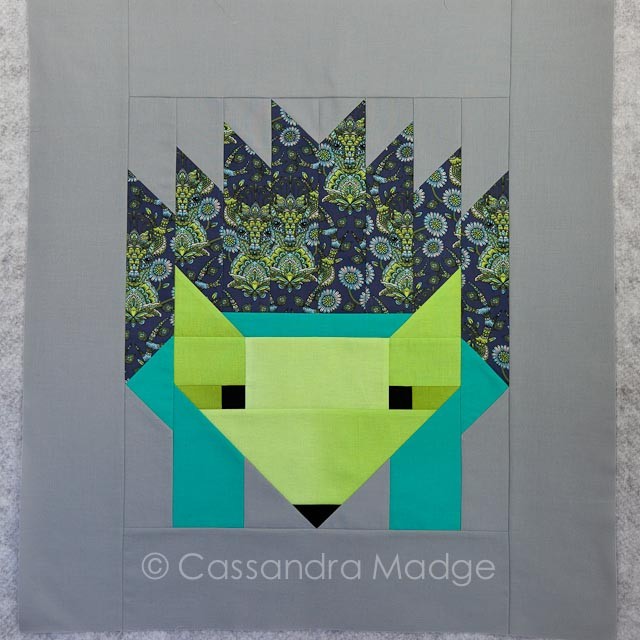
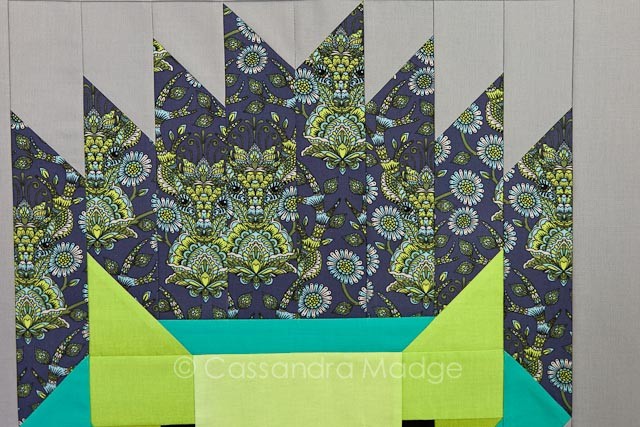
They won’t always join up, but it’s a fun thing to try. After making up all four large Hazels, it’s time to join them together!
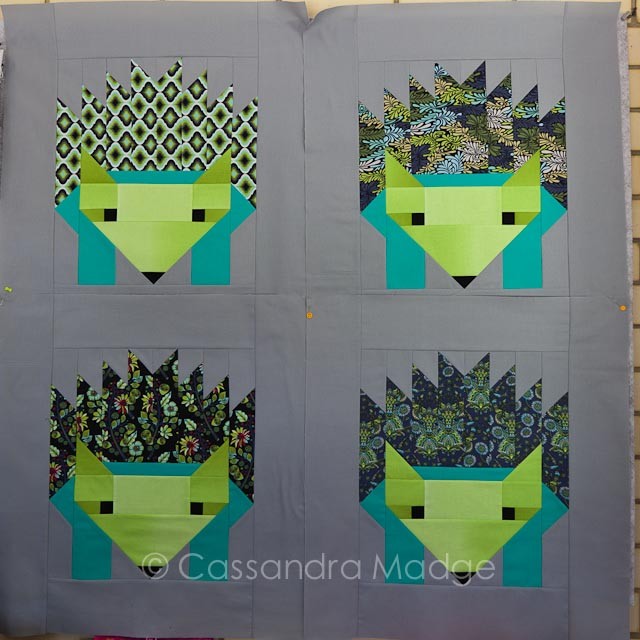
I do love how the different shadings in the ombre green Faces make her look like she has got makeup on!
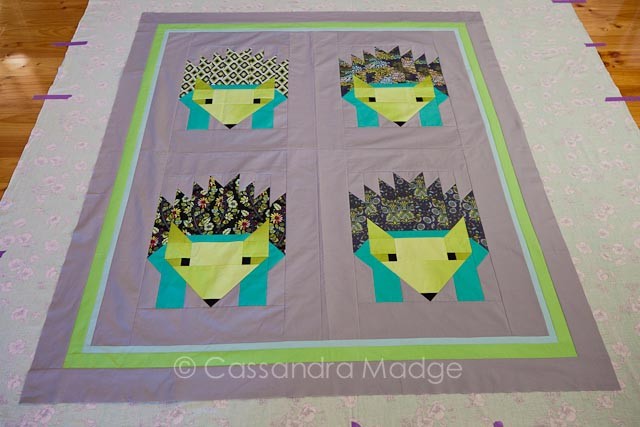
Because I didn’t feel like my four large blocks were a big enough quilt, I added in some extra border strips. Aqua in 3/4″ wide finished, green in 1 1/2″ wide finished and another grey border to frame the finished quilt coming in at 3″ finished.
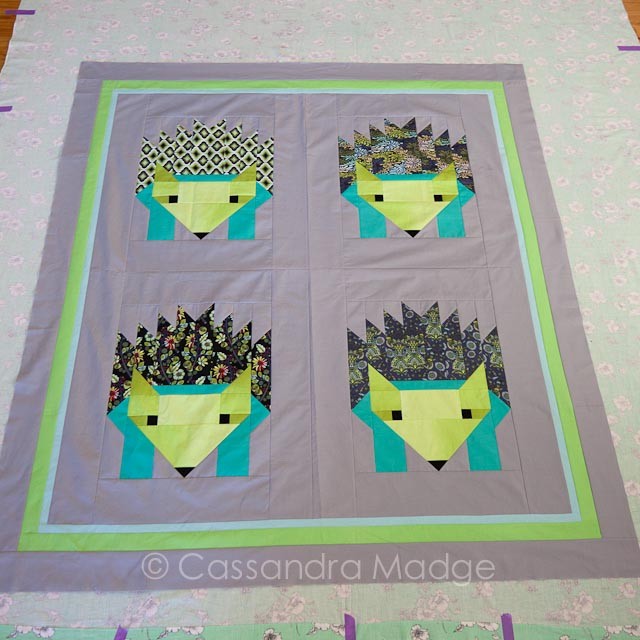
Unfortunately, basting is as far as I was able to get on “Mrs Tiggy Winkle goes to town”, due to a delay in the mail for a quilting essential. However I have something very special planned for her, which you won’t want to miss! You might want to add me to your blog feeder or pop your email in for updates if you haven’t already.
Thanks for stopping by on my part of the Hazel Hedgehog Quilt-a-long! In case you missed it, here are the other stops for the tour.
Friday 6 February – Interview with Elizabeth Hartman @ GnomeAngel.com
Monday 9 February – Fiona @ Bendigo Lioness
Wednesday 11 February – Anita @ Daydreams of Quilts
Friday 13 February – Raylee @ Sunflower Quilting
Monday 16 February – Brandy @ M3 Quilts
Wednesday 18 February – Melissa @ Ms Midge
Friday 20 February – Tara @ Simply Crafted
Monday 23 February – Cassie @ Cassandra Madge (YOU ARE HERE!)
Wednesday 25 February – Kate @ Stitched with Love
Friday 27 February – QAL Finishes with a Link Up @ GnomeAngel.com & Gotham Quilts
If you haven’t already, sign up for Angie’s newsletter, or visit her blog to get some sweet discounts on the Hazel Hedgehog patterns, fabric from Gotham Quilts and fabric from Cotton Factory. Don’t forget to visit Angie’s blog this Friday to link up your Hazel progress. There are fabulous prizes on offer!

Please be aware that there may be affiliate links in this content. Your support allows me to keep creating for you!

Angie @ GnomeAngel.com
Love these. Love the faces and the added dimension that the fabric gives them. Great hints and tips too. Can’t wait to see how you finish it.
Cassandra
Thanks Angie! My thread holder arrived today, so tomorrow, we quilt!
candy
Great Fussy placement – shows the endless possibilities – thanks for sharing
Cassandra
Thanks Candy! I had lots of fun matching up the patterns 🙂
Vera
What a great color/fabric combo you made! Well done!
Cassandra
Thanks Vera! I just love colour so much. 🙂
Fiona
Mrs Tiggy Winkle!
Fiona
Ok the rest of my message got chopped off! I did say that she looks Totes Adorbs!
Cassandra
She does indeed!! Even washer women need to put on their Tula best sometimes 😉
It’s April, will you fast with us? | Cassandra Madge
[…] WIP project of choice for April is the Mrs Tiggywinkle quilt. Although the background quilting has been completed, there are still hedgehogs and the outer […]