You may have seen the “Zip up tray pouch” designed by Aneela Hoey, sprouting up over the interwebs lately. It is a totally ingenious design, which is just a must for anyone who regularly stitches on the go, whether that is in the car, on the lounge, or at a coffee shop. Folding up into a sealed box, it unzips into a solid sided tray, large and deep enough to keep a day’s worth of stitching supplies corralled safely.
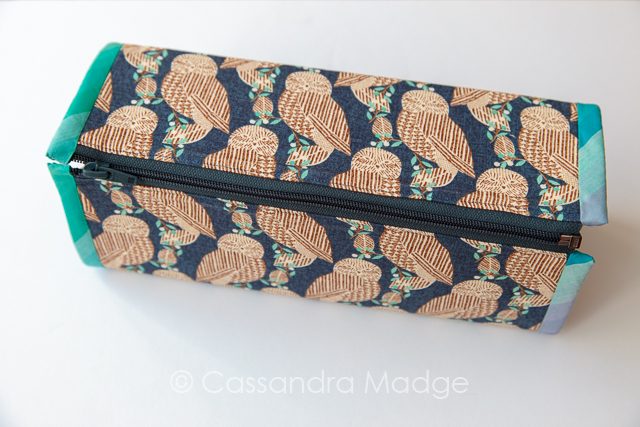
The first thing you will notice about this tray is that it’s bigger than you realise. It won’t tuck away into your handbag, however, it will hold a regular large size pair of scissors in comfort.
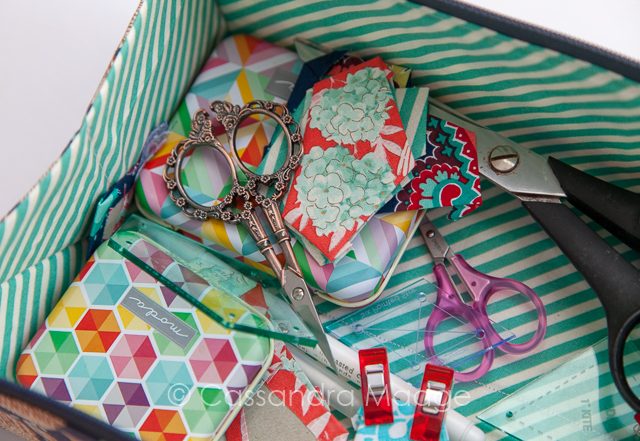
I have mine stashed full of all the supplies I need for my English Paper Piecing, templates, marking tools, wonderclips, scissors, glue, needles and thread. You don’t need to be stingy about what you toss in there, it will take more than you think!
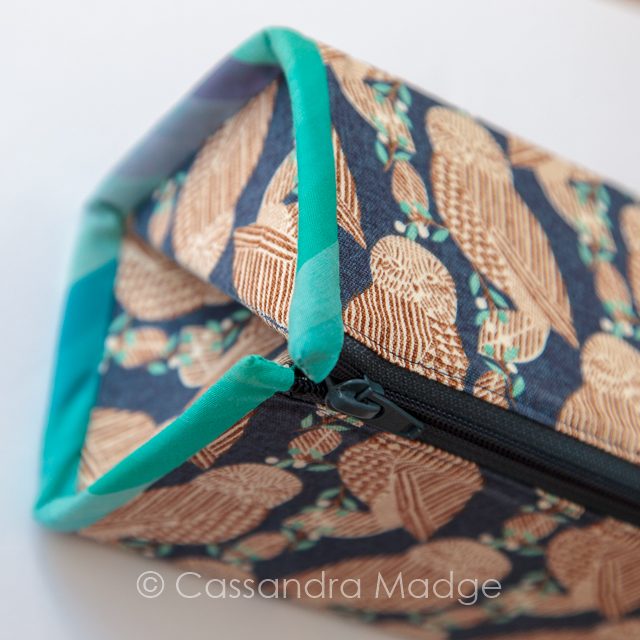
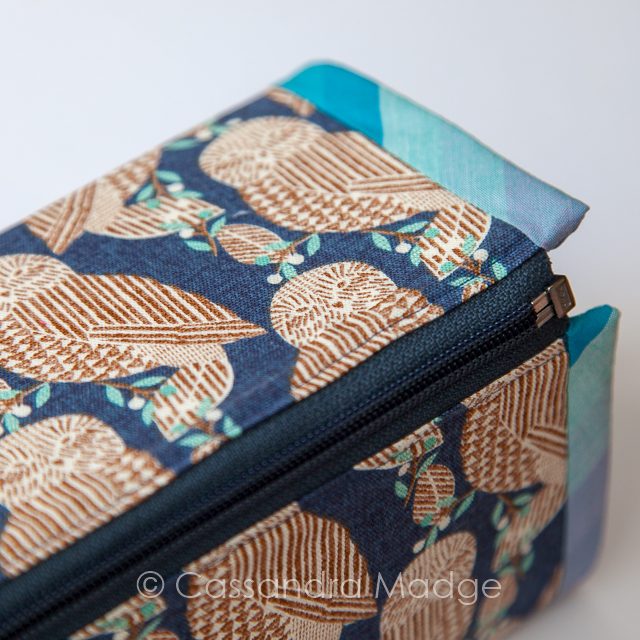
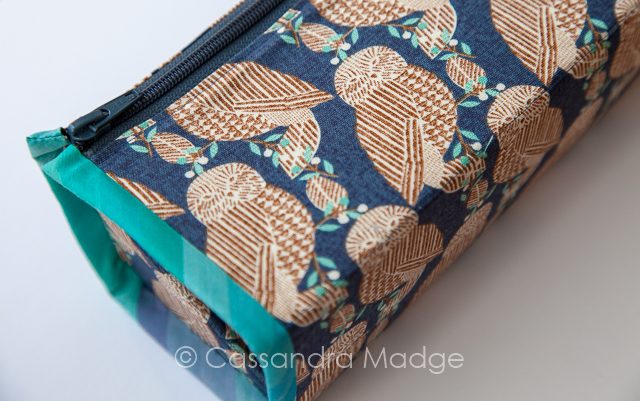
I used a beautiful shot cotton premade binding for the ends, it made the finishing stages easier and the colours are very effective with the blue and jade from the Kokka Linen Owl print on the outside, combined with the jade stripe on the inside lining. I did have to cut down a larger size zipper however, as I only had a few separating zippers in my stash. It meant that one end binding covers the zipper tape, while the other end ducks neatly below it.
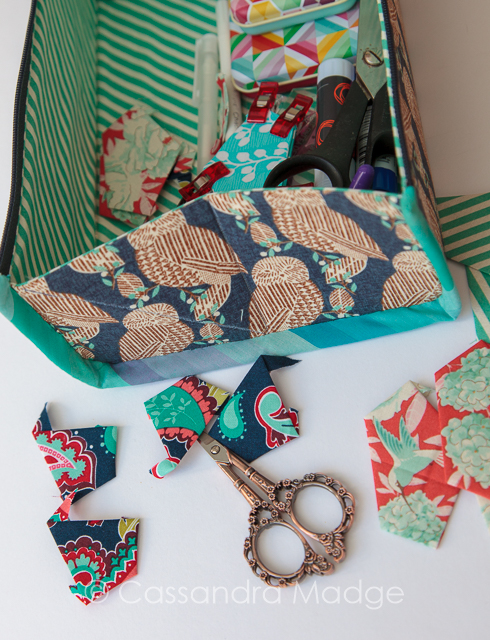
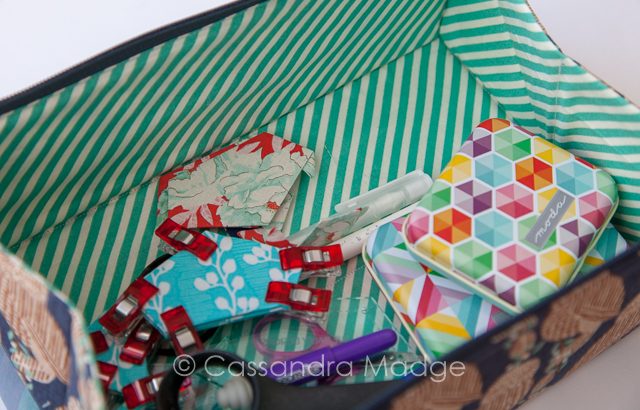
Aneela includes instruction and discussion regarding directional fabrics, including making the end panels out of two separate fabrics and keeping them oriented correctly. This was very helpful for my choice of outer print, and adds to the polished finished look.
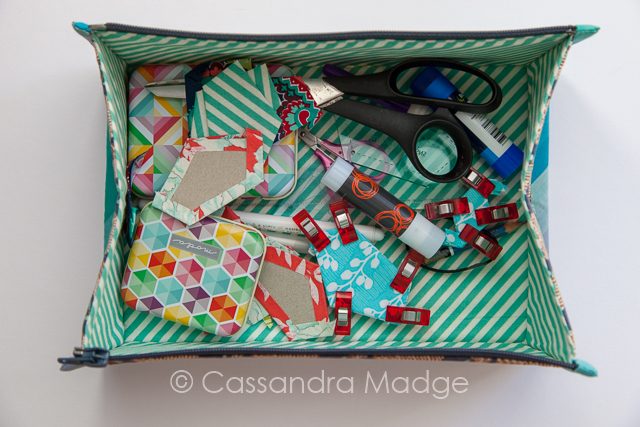
As tempting as it may be, you can’t stuff the interior completely full. Due to the folding action, half full is the best you can do, and you can’t put anything oversized into it. However, for a jumble of small necessities, it’s absolutely ideal. No more stray clips, escaping bobbins or misplaced scissors.
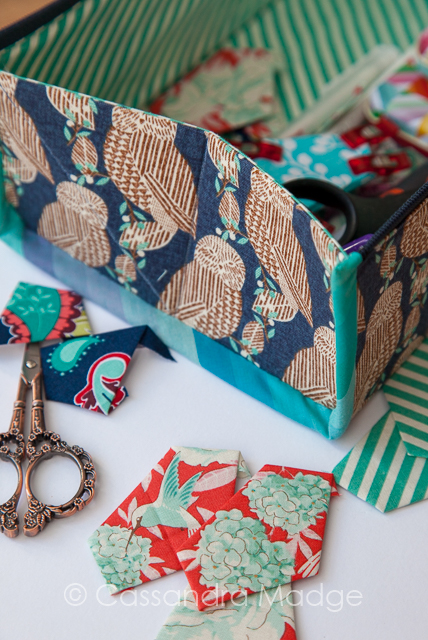
The instructions are well thought out and for the most part clear. There was one section, when sewing the ends onto the main panel, where I got completely lost. I needed to manipulate the fabric for a while, visualising what the finished box would look like, before I realised where to attach the ends. It is quite fiddly, and sometimes you may have to go back over a seam a second time if your sewing line slips off into the seam allowance. However I still made this in an afternoon, with the evening set aside for hand stitching the binding. Next time I make one, I may consider reversing the binding attachment, and hand stitching the outside, rather than the inside. I made this change on the the Sew Together Bag and it certainly helped to keep things neat.
The supplies are definitely necessary, she chose that interfacing for a reason, and obviously a separating zipper is essential.
Final verdict? If you have already made some pouches and zippered items, this is a natural progression. I would give the pattern 8 out of 10 and I definitely would make one again. Not only are they ideal presents for crafty friends, but the pattern does include a license to make and sell in small settings. I wish more designers did that.

Please be aware that there may be affiliate links in this content. Your support allows me to keep creating for you!


Maria C Tripp
I am in the midst of this intriguing project and am at the sew the binding on stage. I am using a Jean needle, teflon foot and a longer stitch length. My HusqvarnaViking machine refuses to stitch through the stabilizer. Could this be because I am using an older double sided fusible product out of my “stash” called Inn-Spire vs Pellon 72f? I have thought to start new but cut the stabilizer 1/2 inch from border of fabric and thus avoid sewing on the stabilizer all together. Thoughts?