No more time for excuses, most of us are slack in this department – in fact I can’t remember the last time I labelled a quilt that wasn’t a gift. Never again! I’m here to show you how to do it easily and quickly. You can make unique, attractive labels that you might have never thought possible unless you had them professionally printed. I had so much fun with these, I ended up making and attaching labels for 6 quilts! You can create them individual to suit your quilt and personality, or you can decide on a uniform format to keep your labels in the same style. It’s up to you.
You will need:
- a computer (preferably with a few fun fonts installed) and a printer
- fabric of your choice for the label – lighter is better for tracing on
- permanent marker/pen of your style and colour choice
- lightbox or substitute with a sunny window, lamp under glass coffee table etc
- iron and pressing board
- pins and hand sewing needle
- AND a quilt that is in desperate need of a label!!
I prepare my labels using Photoshop. With my digital scrapbooking and design work, it is the software that is most comfortable for me to use. However you could get a very similar result using a simple word-processing program. Most of my fonts of choice are handwritten style – nothing too thick or solid. For free fonts, I use www.dafont.com however I buy most of my commercial use fonts at www.thehungryjpeg.com.
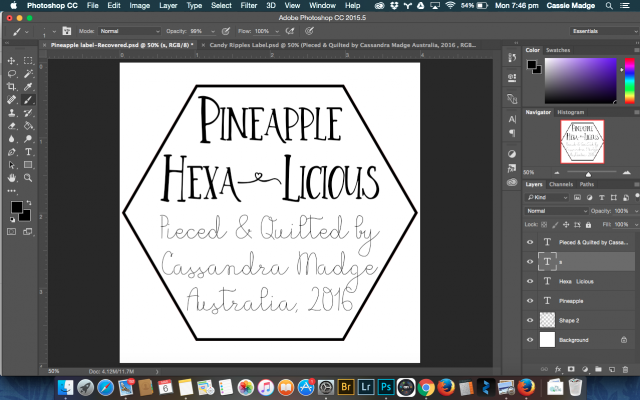
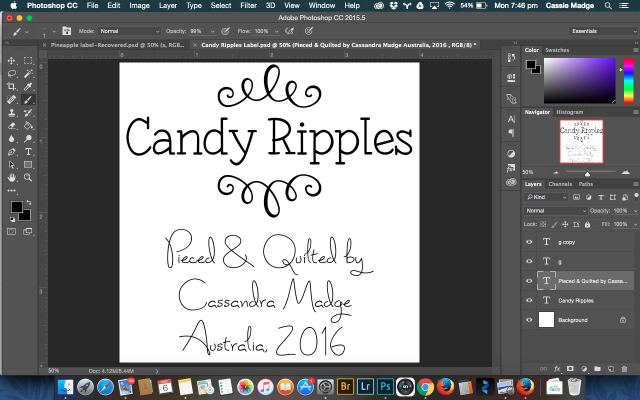
Here are the first two labels I created. I use a 4″ square size as the basis for my labels, but again that is a personal preference, as are the details you want to include. Because these are all personal quilts, there is no need for recipient name or occasion. You can add as much or as little to the label as you like, however think of it as a way to track your quilt if the worst should happen and it is lost, so a name is at least the minimum you would want to include.
Print out your label onto plain paper – make sure not to allow your printer to resize it, otherwise you might end up with giant text. See my tutorial on how to do that for a mac HERE.
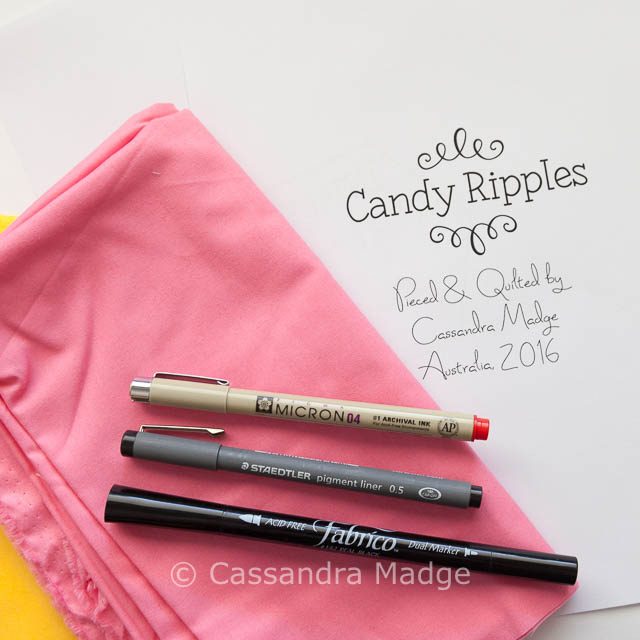
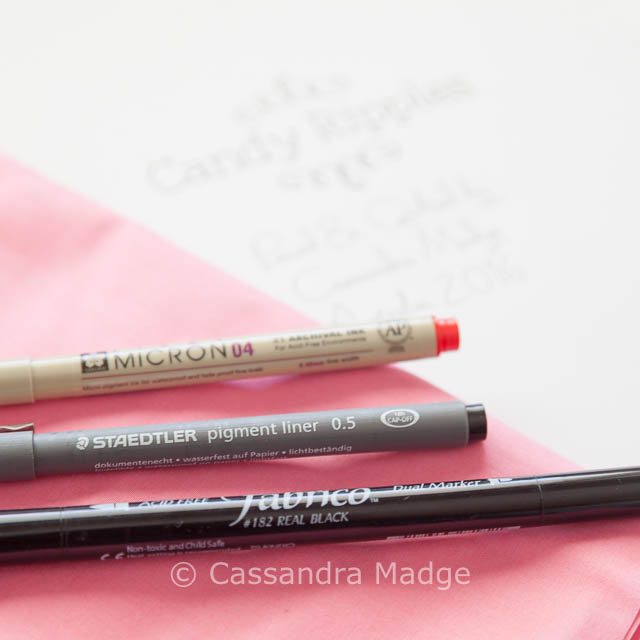
Gather your fabric of choice (I chose some light coloured solids) and pens. My personal favourites are the Fabrico dual marker which gives a nice thick line for bold text, and the Staedtler pigment liner which is ideal for the finer lettering. As long as the pen you choose is water-fast, you can really express your creativity. Why not use white fabric and a rainbow of markers?

You can see that this hot pink is at the extreme end of my ability to trace on it – my lightbox is at it’s highest brightness and you can only barely make out the finer text. Position the printout behind your fabric, tape fabric to paper on at least 2 sides to make sure it doesn’t shift and then start tracing! Take your time, remember to breath and stretch your hand as you are going.

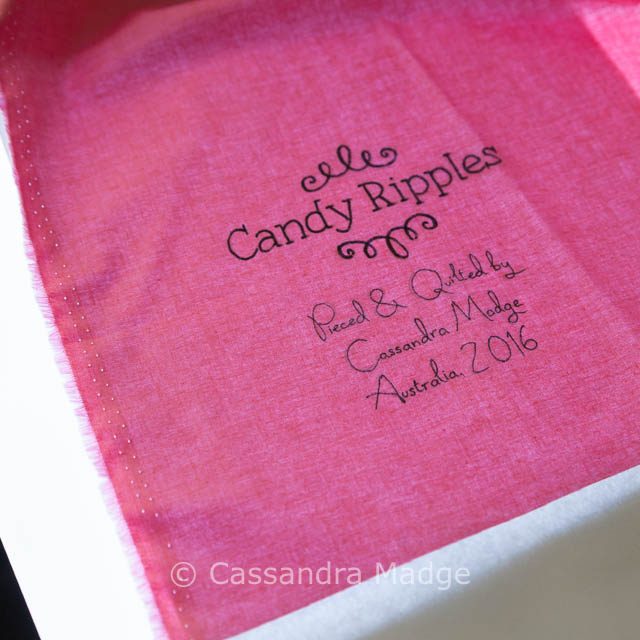
Firstly I like to trace my heading which in this case is my quilt title. Those swirly lines? They are actually from a FONT – no artistic ability required! Then changing pens, I move on to the simple text which helps to identify the maker and origin of the quilt.
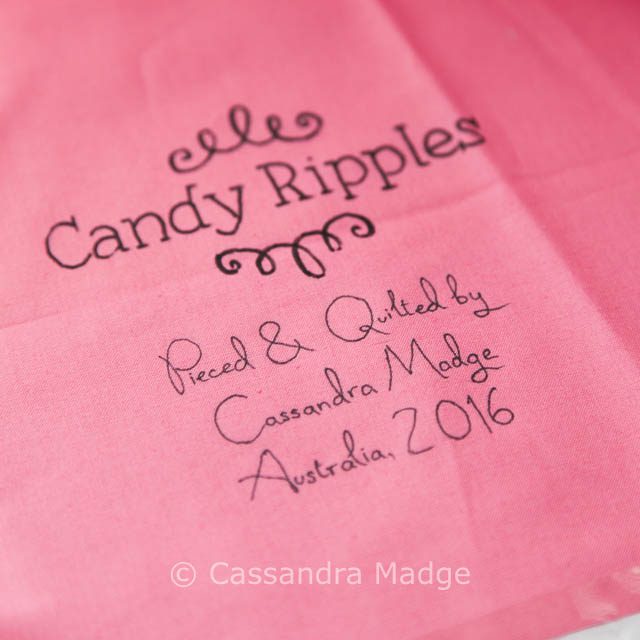
Here is exactly the same shot, only with the lightbox turned off. I do this before I move the paper or fabric, just to make sure that it’s legible and I haven’t missed anything before I separate them.
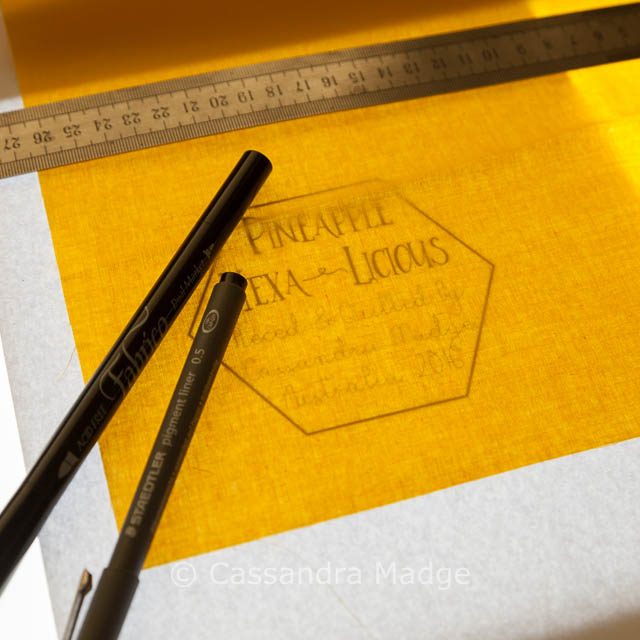

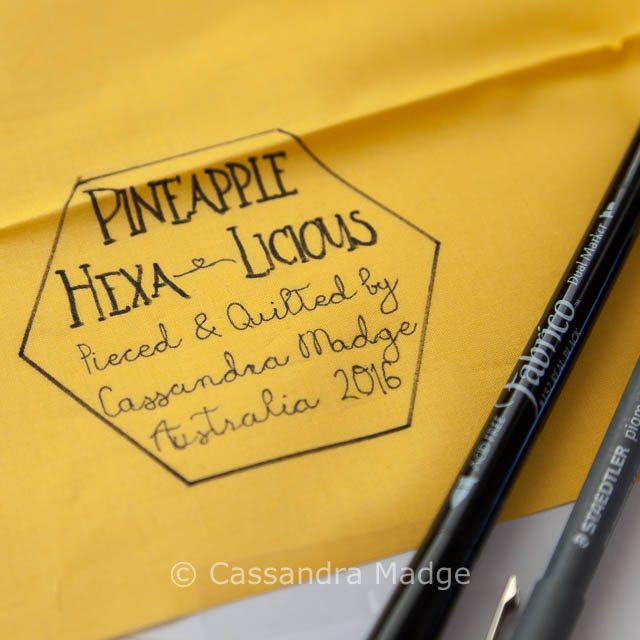
Repeat the process for as many labels are you care to make in one sitting. Be as creative as you want, find a feature to tie the label in to the quilt, in this case, a hexagon border.
After you have traced your label, iron it on the wrong side to heat press the ink. Trim to your desired size, and take it back to the iron to press the seam allowance under. This is usually about 1/4″ although I never bother to measure it too exactly.
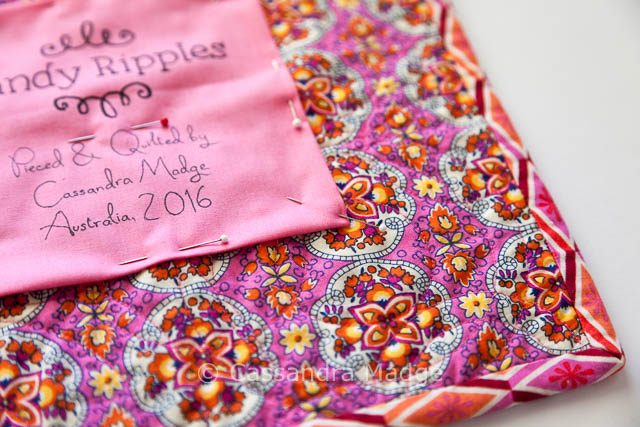
Position it as you want on your quilt. I prefer the lower right of the back, however there isn’t a hard and fast rule for where it goes. I pin it along each side, and then in the corners to help stop it from shifting or the seam allowance from unfolding as I work with it. Use your preferred binding technique to stitch it down – with tiny whip stitches, invisible ladder stitch or so on. I stitched this down, then added a decorative blanket stitch around the outside in a variegated cosmo thread, just to give it a a bit of pop.
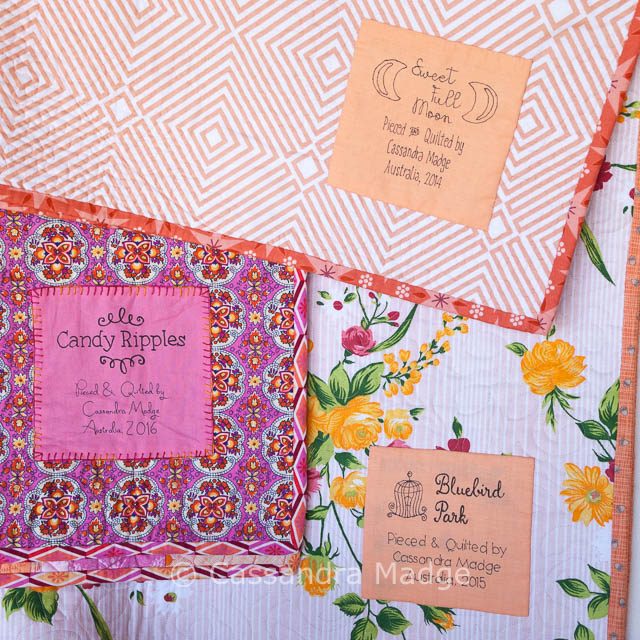
Here are three of my recently completed labels. The moon is a custom shape loaded with photoshop and the birdcage is actually from a special font. Don’t they make such a difference to a quilt?
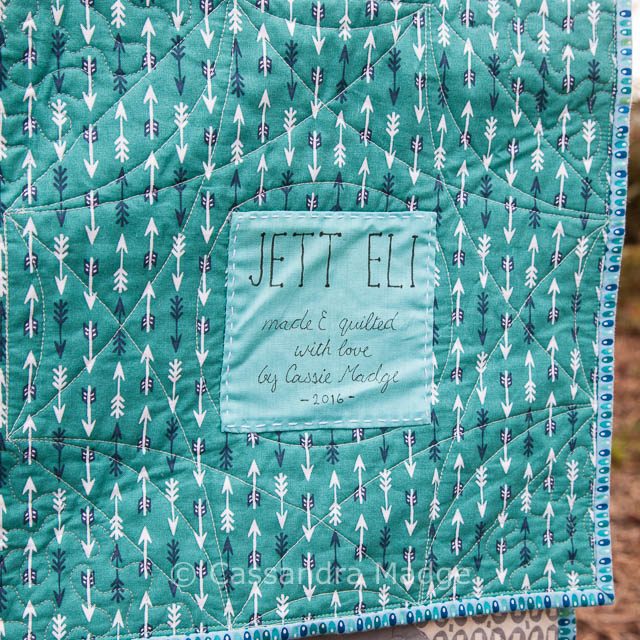
Here is a labelled gift quilt from last year – made exactly the same way. Professional finish with a minimum of time and effort invested.
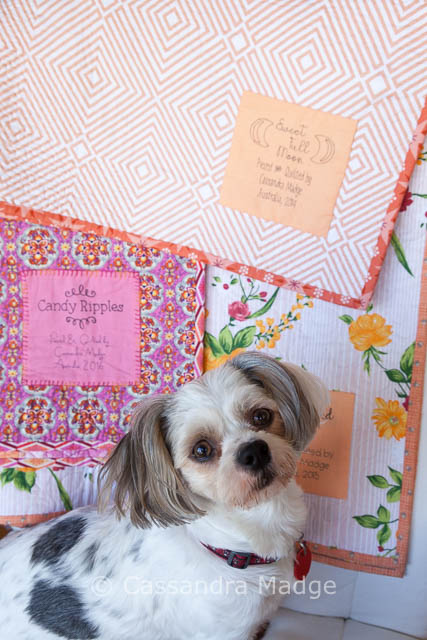

Behind the scenes of my quilt photo shoot there’s always someone there to help, or hinder as the case may be. Willow is our little quilt fiend – whether I’m sewing on binding or labels, or trying to take photographs, she wants to be on the snuggly pile of quilts!
How do you go with making labels? Will these hints help you to make them, and have a bit of flair while you are doing it?

Please be aware that there may be affiliate links in this content. Your support allows me to keep creating for you!

Anorina
Great tute! I’m a slack quilt labeller and you’ve inspired me to actually sit and finally make some.
Cassandra
Hi Anorina, thanks so much for your comment. I am glad that I’ve helped to encourage you, and thanks for sharing the tutorial too. I think it’s sad that we don’t take time to mark these quilts for safety (in case of loss) or for history as they tell stories of us that we might not be around to tell. After putting in so many hours to making a quilt, an extra hour to label it really isn’t that much more work. 🙂
Jennifer Janevski
How do you print the fabric?
Cassandra
Hi Jennifer. I’m not sure I understand the question? I write my labels onto the fabric using fabric pens. I trace them using a lightbox underneath the paper, then the fabric on top. Feel free to email me and I will try to help if this isn’t clear. 🙂