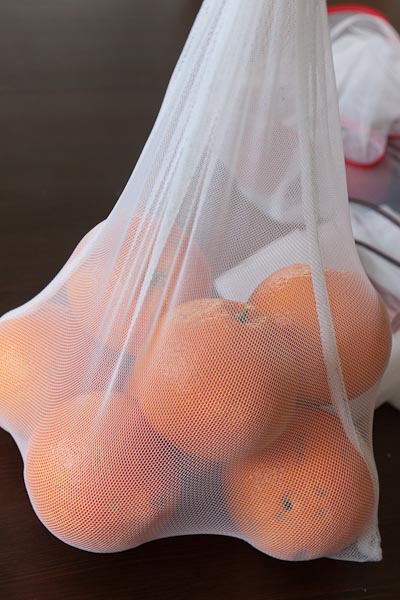
It has been on my green mind lately that I really need to get onto sewing some light mesh or fabric bags for my vegetable shopping. I’ve cut down a lot on the bags I already use, I don’t mind keeping things like one or two of something loose, we don’t come home with each item individually bagged. However there are some things every week that we use bags for, like the 20 apples we buy, give or take. 10 green and 10 red. They definitely need bags – and big strong ones too sometimes!
So with all this floating around in the back of my mind, I was very happy to find some mosquito net type fabric remnants at the op shop – metres and metres worth for $1.50. Yes, you read that right. After giving it a bit of a pull and stretch to see if it was old and perished and no good for the job (it was perfect!) I bought it and proceeded to plan operation vegetable bags.
Using an old plastic bag as a template, I cut out a row of bags across the width of the fabric. Now I’m not going to lie, it is slippery awful stuff to work with and I just eyeballed my lines most of the time. Near enough will do. I cut them so that there was a fold at the bottom instead of a seam, as I thought that would be stronger. I also cut them a little long and rectangular, because I wanted plenty of room at the top for tying a knot to stop everything escaping before I got home.
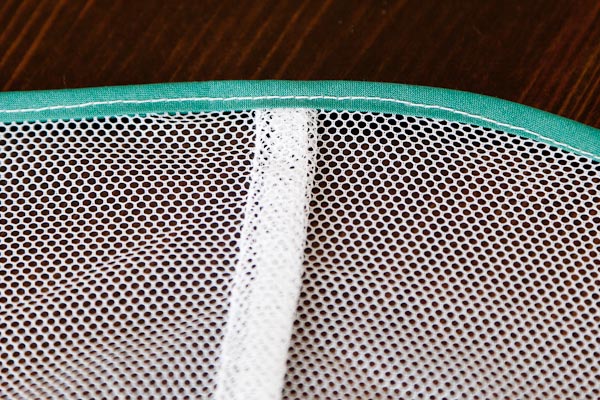
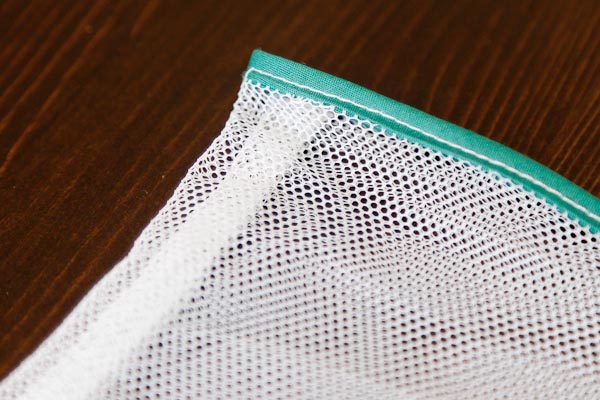
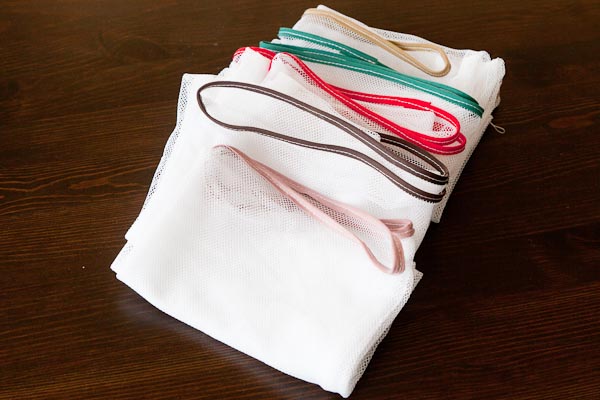
For seaming, all I had to sew was up both sides, and then to secure the top somehow to prevent fraying and make it all look neat. I decided on french seams for the sides, to keep all the loose threads and so on from getting snagged on the contents. It was easier than I thought – just wrong sides together, zip up both sides with the overlocker, turn inside out and stitch with a stretch stitch on my machine just far enough over to neatly catch the previous seam. Turn it back inside out again and it was all done! After that, I overlocked the top, then folded it into some vintage bias binding in all sorts of fun colours from my Mother’s sewing stash I inherited. Glad to see some of it finally getting some use!
As you can see, I used a rainbow of colours – Green for Apples, Red for Apples, Mushroom pink, Brown, and Fawn.
I can’t wait to take them along and give them a try with the shopping this week. At least I have plenty of fabric left over if I find I need more of them!
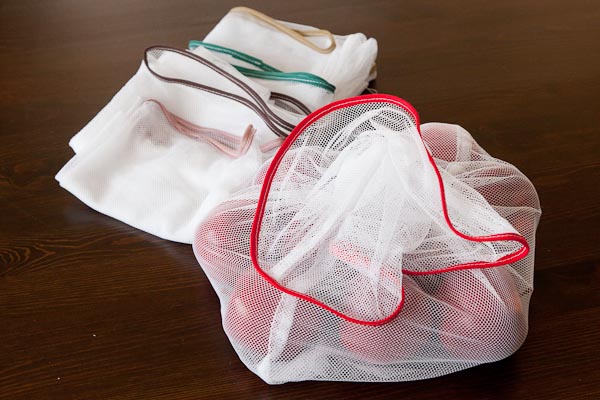 So I feel like this project gets bonus green and frugal points, as it was using old recycled materials, and it means that there will be less plastic coming in to our house. Win-win!!
So, what else have you been sewing lately? Made something new out of something not needed anymore? Link us up, we’d love to see!

Please be aware that there may be affiliate links in this content. Your support allows me to keep creating for you!



Heidi @ lightlycrunchy
Great idea – love that you found the netting at a second hand shop for so cheap!
Cassandra
I was so excited that I found exactly what I needed! Thanks for stopping in 🙂
df
These are wonderful! I can’t operate a sewing machine properly to save my life and rely on hand sewing for all kinds of things. I have a feeling that would be very frustrating in this case! 🙂 We’re huge on recycling materials for projects at our house, but they tend to be large-scale functional things (like burn barrels, fencing and tree houses), rather than lovely-to-look-at smaller items. I’m always buying second hand ribbon and fabric, with sewing projects in mind, but of late haven’t been good at getting around to them. This is a good reminder for me!
Cassandra
Hehehe I might have missed out the part in the tutorial that the planning stage (also know as getting my courage up to start) took several weeks! You’re right, hand sewing them would be really hard…. but your ribbon collection sounds good. Mum’s stash was more practical than pretty for the most part.
Jenny
They turned out really cute! That’s a great idea and also seems like it would be better for your produce. I’ve always thought the plastic bags at the grocery store cause my fruits and veggies to mold really fast. Kudos for a great idea! : )